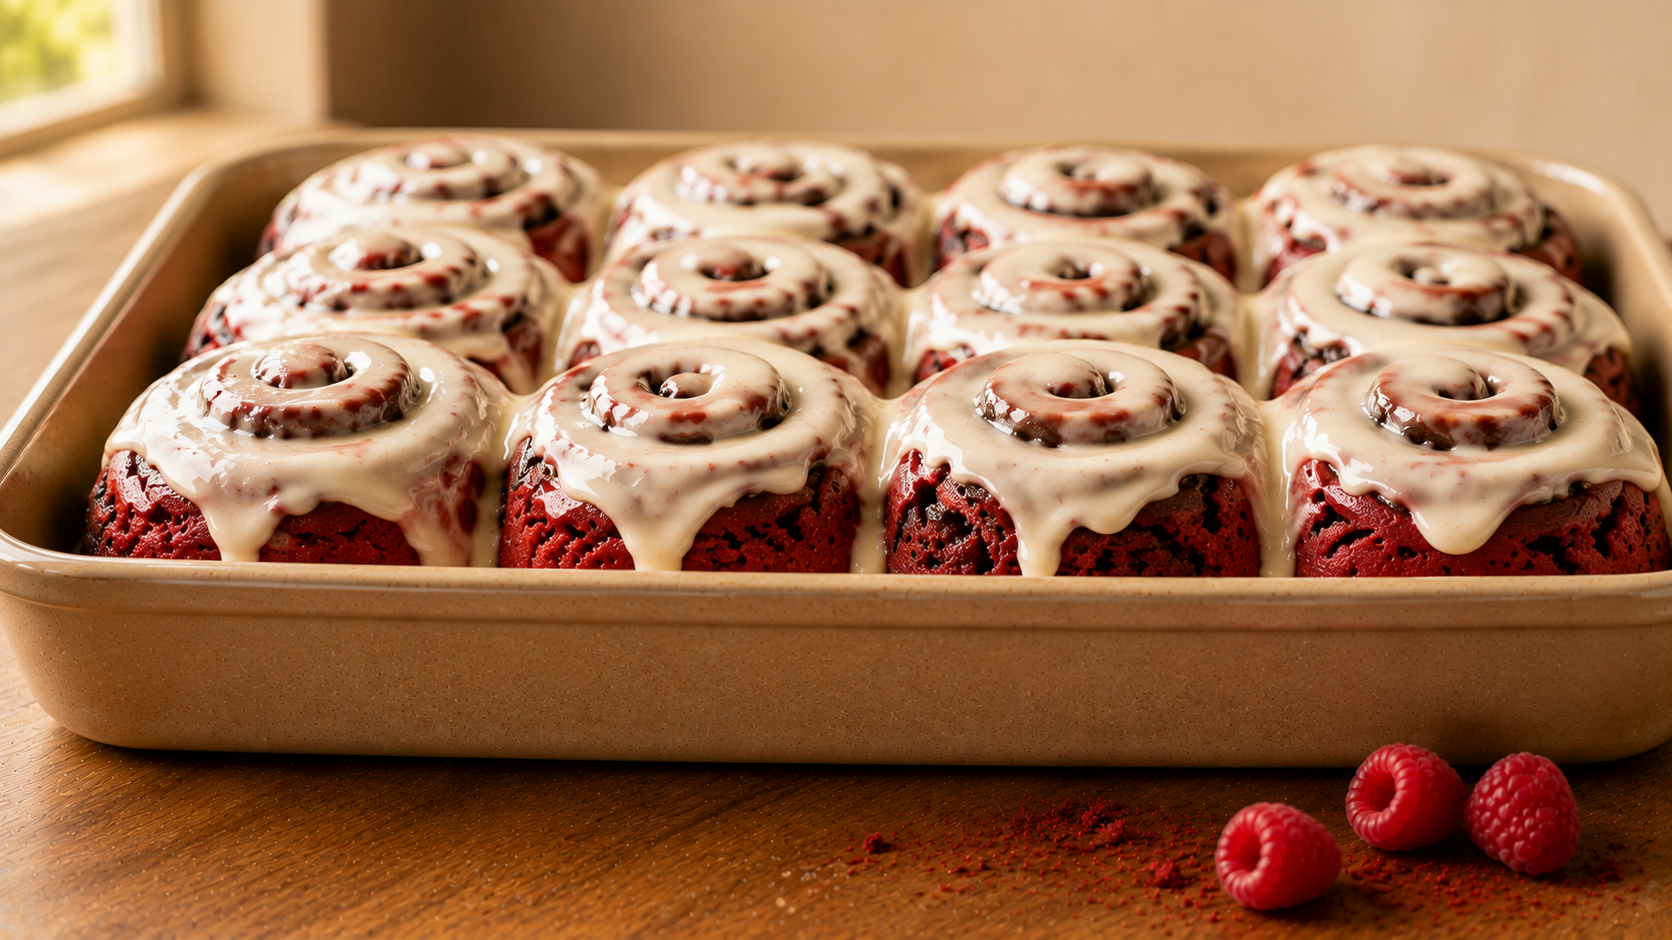
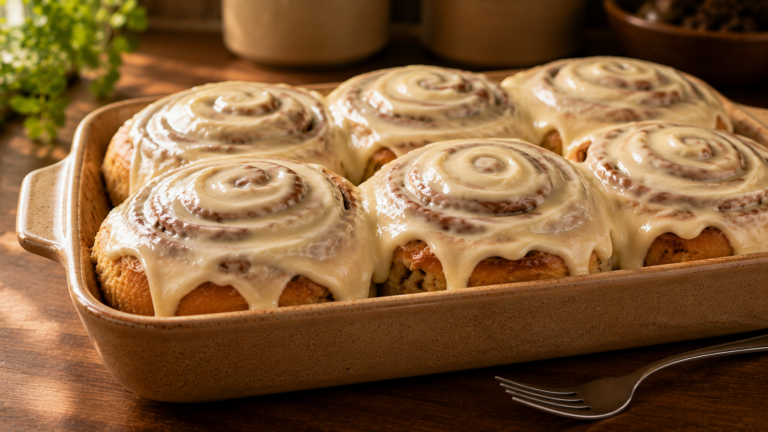
Rich Cocoa Swirled Red Velvet Cinnamon Rolls with Cream Cheese Icing
My sister asked for red velvet cake on her birthday and cinnamon rolls the same morning. I stopped choosing and folded cocoa, buttermilk, and vinegar straight into a sweet roll dough.
Red Velvet Cinnamon Rolls have been on that birthday table every year since, and the tangy cream cheese icing is what makes the whole thing work.
Why You Will Love This Recipe
- The dough carries real red velvet flavor from natural cocoa, buttermilk, and a splash of vinegar, not just red coloring stirred into a plain sweet roll.
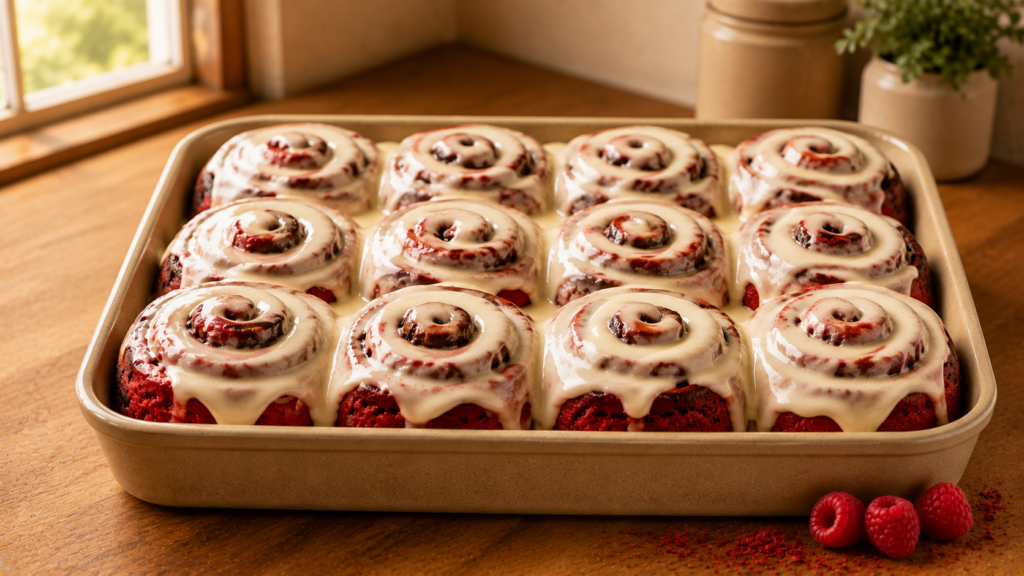
- Cocoa powder goes into the filling as well as the dough, so the swirl reads as a deep chocolate brown ribbon against the crimson crumb instead of disappearing.
- Buttermilk keeps the crumb unusually tender and gives the finished roll a soft tang that stands up to a heavy cream cheese icing.
- The colour contrast makes these a showpiece for Valentine’s morning, Christmas breakfast, or a birthday table with almost no extra effort.
- Everything is shaped in one 9 by 13 dish, and the whole batch can be refrigerated overnight and baked fresh in the morning.
Ingredients
For the red velvet dough
- 1 cup buttermilk, warmed to 105F to 110F
- 2 and 1/4 teaspoons instant yeast, one standard packet
- 1/4 cup granulated sugar
- 1/4 cup unsalted butter, melted and cooled to lukewarm
- 1 large egg plus 1 large egg yolk, at room temperature
- 1 tablespoon red gel food coloring, gel only and never liquid
- 1 teaspoon distilled white vinegar
- 1 teaspoon pure vanilla extract
- 3 and 1/2 to 3 and 3/4 cups all purpose flour, spooned and leveled
- 3 tablespoons unsweetened natural cocoa powder, sifted
- 1 teaspoon fine sea salt
For the cocoa cinnamon filling
- 1/2 cup unsalted butter, softened to room temperature and easily spreadable
- 3/4 cup packed light brown sugar
- 2 tablespoons ground cinnamon
- 1 tablespoon unsweetened natural cocoa powder, sifted
- 1/8 teaspoon fine sea salt
For the cream cheese icing
- 6 ounces full fat cream cheese, softened to room temperature
- 1/4 cup unsalted butter, softened
- 1 and 1/2 cups powdered sugar, sifted to remove lumps
- 2 tablespoons heavy cream
- 1 teaspoon pure vanilla extract
- Pinch of fine sea salt
Crockery and Time To Create
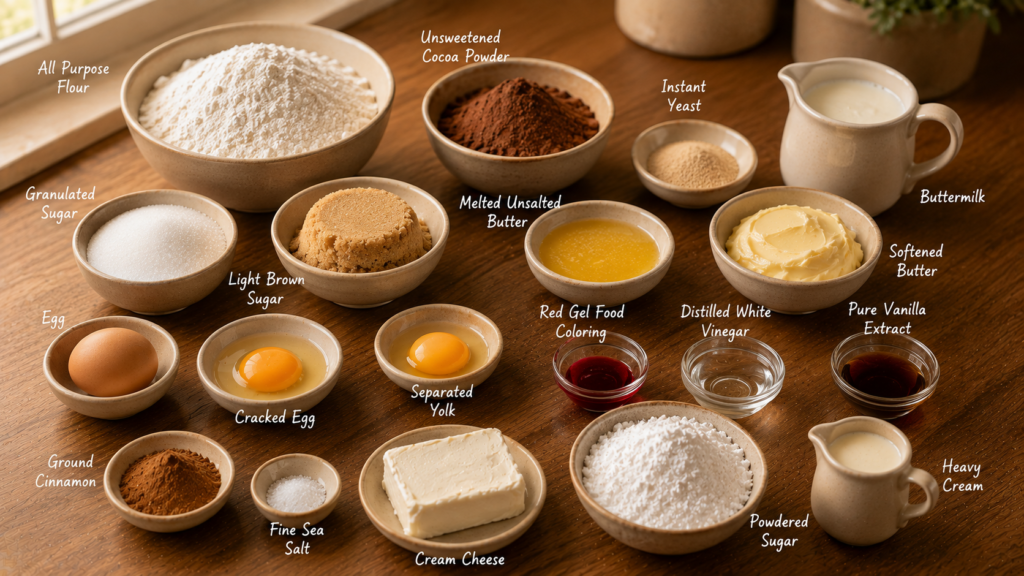
You will need a large mixing bowl, a small bowl for the filling, a medium bowl for the icing, a whisk, a wooden spoon, a fine sieve for the cocoa, a rolling pin, a bench scraper, an offset spatula, and a 9 by 13 inch matte cream ceramic baking dish.
Prep time is 30 minutes. Rising time is 1 hour 45 minutes across both rises. Bake time is 25 minutes. Total time is 2 hours 40 minutes. This makes 12 rolls, which serves 12 people at one roll each.
Ingredient Substitutions and Variations
- Homemade buttermilk: Swap the buttermilk for 1 cup whole milk mixed with 1 tablespoon lemon juice and rested 10 minutes, which curdles enough to do the same tenderizing work.
- Beet powder: Swap the gel coloring for 2 tablespoons beet powder if you want natural color, accepting a slightly earthier flavor and a duller brick red result.
- Dutch process cocoa: Swap the natural cocoa only if you also drop the vinegar, since Dutch cocoa is already alkalized and the acid has nothing left to react with.
- Bread flour: Swap 1 cup of the all purpose flour for bread flour when you want a chewier, more structured pull apart roll.
- Mascarpone: Swap half the cream cheese in the icing for mascarpone to soften the tang and give the topping a silkier, less dense texture.
- White chocolate: Scatter 1/2 cup of finely chopped white chocolate over the filling before rolling for pockets that melt into the spiral.
- Espresso powder: Add 1/2 teaspoon instant espresso powder to the filling to deepen the cocoa without making the rolls taste like coffee.
Step-by-Step Instructions
Warm the Buttermilk and Bloom the Yeast
- Heat the buttermilk gently to 105F to 110F, stirring as it warms so it does not separate or catch on the base of the pan.
- Stir in the granulated sugar, sprinkle the instant yeast across the surface, and leave it for 5 minutes.
- A soft foam ring should form around the edge. Buttermilk foams less dramatically than plain milk, so look for small clustered bubbles rather than a thick head.
Build the Red Base
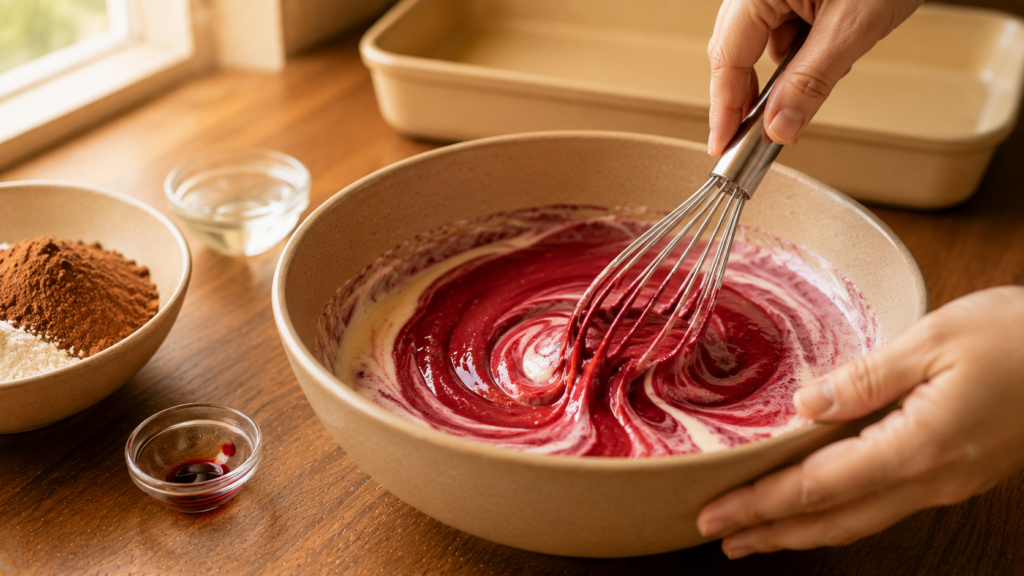
- Whisk the cooled melted butter, whole egg, extra yolk, vanilla, and vinegar into the yeast mixture until smooth and pale.
- Add the full tablespoon of red gel coloring and whisk until the liquid turns a uniform deep crimson with no pale streaks left anywhere in the bowl.
- Use gel rather than liquid coloring. Liquid takes three or four times the volume to reach the same shade and adds enough water to slacken the dough badly.
Sift the Cocoa and Bring the Dough Together
- Sift the cocoa powder directly into the flour and whisk them together with the salt so no dark lumps survive into the dough.
- Add the dry mixture to the crimson liquid in three additions, stirring with a wooden spoon until a shaggy mass forms with no dry flour at the base of the bowl.
- Cocoa is a drying agent, so this dough needs slightly less flour than a plain sweet roll. Start at 3 and 1/2 cups and hold the rest back.
Knead Until Smooth and Elastic
- Turn the dough onto a lightly floured surface and knead for 8 to 10 minutes.
- Add the reserved flour only a tablespoon at a time and only if the dough is still sticking to your palm after five minutes of work.
- The dough is ready when it is smooth, deep red, and springs back slowly when pressed, feeling soft and faintly tacky rather than dry.
First Rise Until Doubled
- Place the dough in a lightly oiled bowl, cover, and leave it somewhere warm for 60 to 70 minutes.
- Cocoa doughs rise a little slower than plain ones, so judge by volume rather than by the clock.
- It is ready when the dough has clearly doubled and the tight surface has gone slack and domed.
Roll Out and Cover With the Cocoa Filling
- Roll the dough into a 16 by 12 inch rectangle, squaring the corners with your fingertips so the end rolls are not thinner than the middle ones.
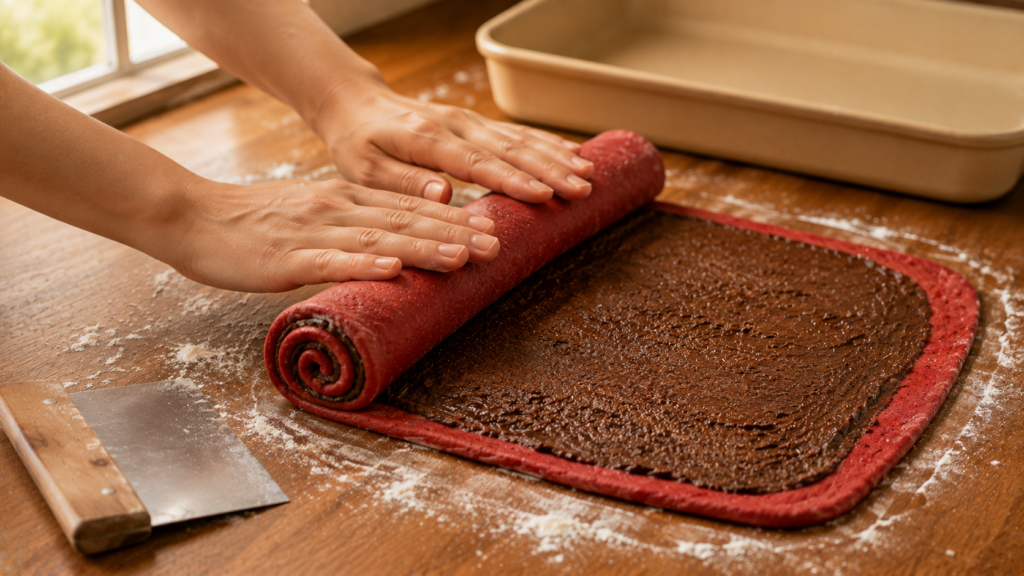
- Stir the softened butter, brown sugar, cinnamon, sifted cocoa, and salt into a thick dark paste and cover the dough edge to edge, leaving a half inch bare along one long side.
- Keep that strip clean. Filling on the sealing edge behaves like grease and the log will spring open before it reaches the pan.
Roll the Log and Cut Twelve Rolls
- Starting at the long coated edge, curl the dough over itself and roll into a tight log, pulling it gently back toward you every few inches so no hollow forms in the middle.
- Mark 12 equal portions along the log with a bench scraper before cutting, then press the scraper straight down through each mark in one clean motion.
- A bench scraper gives a flatter cut face than a knife on soft red velvet dough, which keeps the spiral perfectly round instead of oval.
Second Rise in the Baking Dish
- Arrange the rolls cut side up in a greased 9 by 13 inch dish in three rows of four, leaving about half an inch between each.
- Cover and rise for 40 to 45 minutes until visibly puffed and just touching.
- To bake in the morning instead, cover tightly and refrigerate overnight now, then rest the dish on the counter for 45 minutes before it goes into the oven.
Bake Until Set
- Bake at 350F for 23 to 27 minutes on the center rack.
- Red velvet dough hides its browning, so ignore color and check the center roll with a thermometer instead. It should register 190F.
- The tops will take on a medium golden brown cast with a reddish undertone while the sides where the rolls touch stay a deep crimson and stay soft.
Beat the Icing and Finish
- Beat the softened cream cheese and butter together until completely smooth with no visible lumps, then add the sifted powdered sugar, vanilla, and salt.
- Add the heavy cream one tablespoon at a time until the icing is thick enough to hold a soft peak but loose enough to spread with an offset spatula.
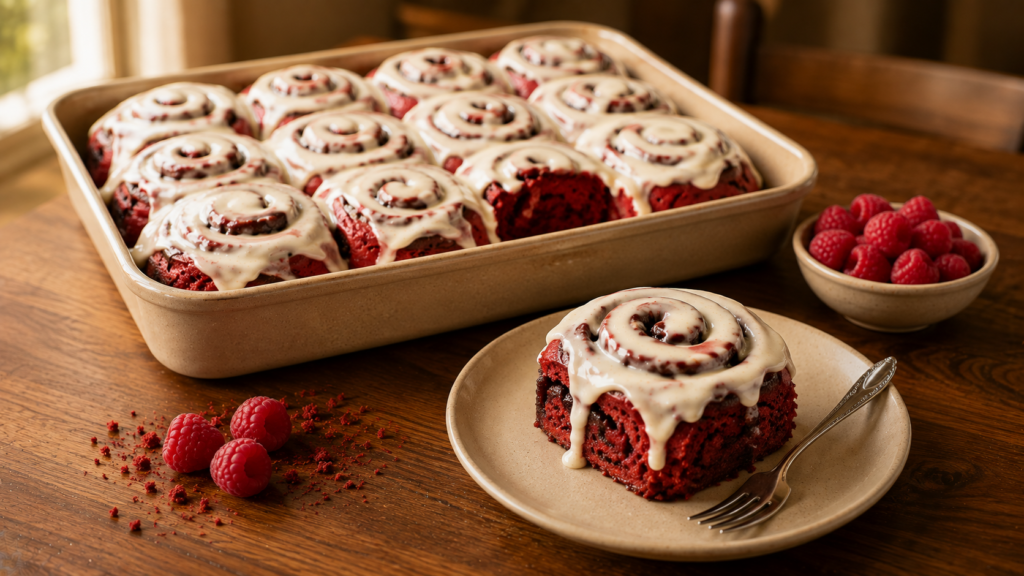
- Spread it over the rolls once they have cooled for 10 minutes, so the icing softens into the grooves without melting into a thin puddle.
Pro Tips for Best Results
- Use natural cocoa powder rather than Dutch process, because the vinegar and buttermilk need an acidic cocoa to react with and that reaction is what gives red velvet its characteristic tenderness.
- Add the gel coloring to the liquid before any flour goes in, since coloring stirred into finished dough streaks and never distributes evenly.
- Warm the buttermilk slowly over low heat, as buttermilk splits and turns grainy if you rush it over high heat.
- Check the internal temperature rather than trusting the color, which is the single most common reason red velvet rolls come out underbaked.
- Ice the batch in two halves if you plan to keep leftovers, since unfrosted rolls reheat far better on day two.
Common Mistakes to Avoid
- Using liquid food coloring: It takes several tablespoons to reach a true red and all that extra water slackens the dough into something unmanageable. Use gel only.
- Reaching for Dutch process cocoa: Alkalized cocoa cannot react with the vinegar, which flattens both the color and the tender crumb. Natural cocoa is not optional here.
- Judging doneness by color: A dark red dough looks baked long before the center is set. Take the temperature of the middle roll every time.
- Adding too much flour during kneading: Cocoa already dries the dough and extra flour tips it into crumbly. Add the reserve a tablespoon at a time.
- Cutting with a dull knife: It drags and smears the soft filling across the cut face. Press straight down with a bench scraper instead.
- Icing straight from the oven: Full fat cream cheese icing turns to liquid on a hot surface. Give the pan a full ten minutes first.
What to Serve With
- Fresh raspberries: The sharp acidity cuts the sweetness of the cream cheese icing and the color pairing on the plate is genuinely striking.
- Cold whole milk: The classic partner for anything red velvet, and the cold richness balances a roll that is warm, tangy, and heavily iced.
- Strong black coffee: The bitterness reads against the cocoa in both the dough and the filling far better than any sweetened drink does.
Storage and Reheating
- Room temperature: Keep unfrosted rolls covered at room temperature for up to 2 days without any loss of softness.
- Fridge: Store iced rolls in an airtight container for up to 5 days, though the crumb tightens and wants reheating.
- Freezer: Freeze baked unfrosted rolls individually wrapped for up to 3 months, or freeze the shaped unbaked rolls in the dish for up to 6 weeks.
- Reheating: Warm a single roll in a 300F oven for 8 to 10 minutes, or cover the whole dish with foil and heat for 18 minutes.
- Reheating from frozen: Thaw overnight in the fridge, then warm at 300F for 12 minutes and ice fresh.
Nutrition Information
| Nutrient | Per Serving |
|---|---|
| Calories | 418 kcal |
| Total Fat | 19 g |
| Saturated Fat | 11 g |
| Cholesterol | 74 mg |
| Sodium | 291 mg |
| Total Carbohydrate | 57 g |
| Dietary Fiber | 2 g |
| Total Sugars | 29 g |
| Protein | 7 g |
| Calcium | 88 mg |
| Iron | 2 mg |
| Nutrition values are estimates calculated per one iced roll and will vary based on the flour quantity, coloring brand, and exact icing amount used. | |
Health Benefits
Natural cocoa powder is one of the richest dietary sources of flavanols, plant compounds that have been studied for their role in supporting healthy blood flow. The four tablespoons across dough and filling is a meaningful amount rather than a token addition.
Buttermilk contributes calcium and a small amount of probiotic bacteria, and its acidity helps the body absorb some of the minerals in the wheat flour more efficiently. Serving a roll alongside milk or yogurt adds protein that slows how quickly the sugar reaches the bloodstream.
Conclusion
There is a reason these come back to the table every year. The crumb is soft in a way plain cinnamon roll dough never quite manages, the cocoa swirl gives you something darker to bite into, and the icing has enough tang to keep the whole thing from tipping into pure sugar. Bake a batch for someone whose birthday is coming up, and save the recipe for February while you are at it.