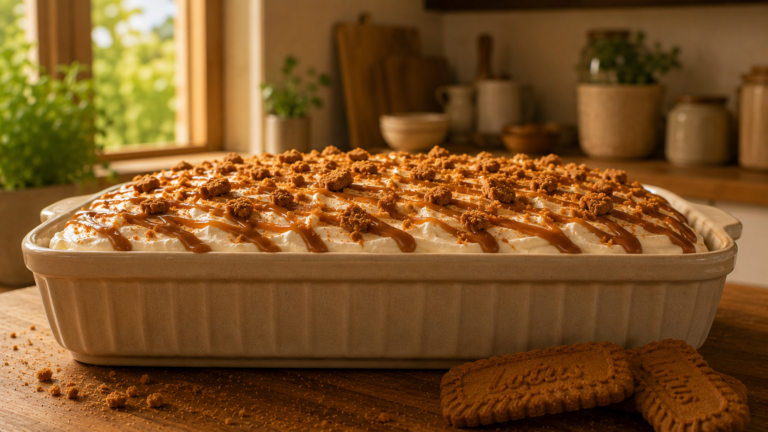
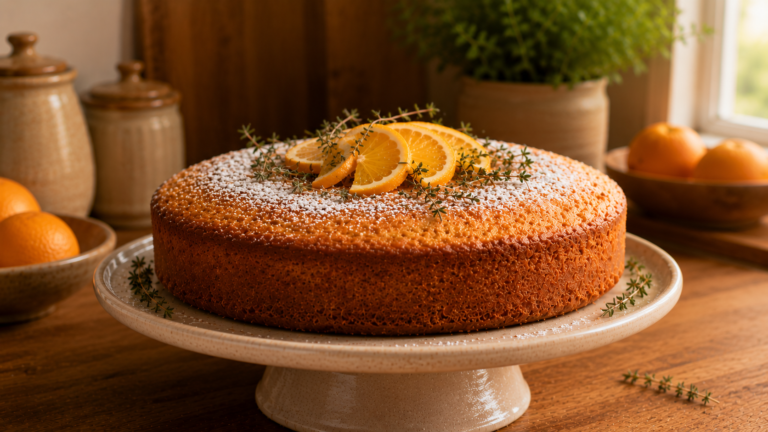
Glazed Salted Caramel Cake With Velvety Buttercream Layers
Caramel has a way of making everything around it smell more important. The moment that amber sauce hits the warm cake layers and starts soaking into the edges, you already know this is going to be good. I make this one when I want to give a celebration cake some actual depth, not just sweetness.
The salt is not just a garnish here. It runs through the buttercream, sits in the caramel drip, and finishes on top, and that is what keeps every bite interesting instead of cloying. This is a cake that tastes as good as it looks.

Why You Will Love This Recipe
• The balance of salty and sweet in every single bite makes this cake genuinely hard to stop eating.
• The caramel buttercream is thick, silky, and holds its shape beautifully between layers.
• You do not need any special equipment, just a few pans and a hand mixer.
• The homemade caramel sauce doubles as a glaze and a filling, so nothing goes to waste.
• This cake keeps well for days, which means you can make it ahead without stress.
Ingredients
For the Cake Layers:
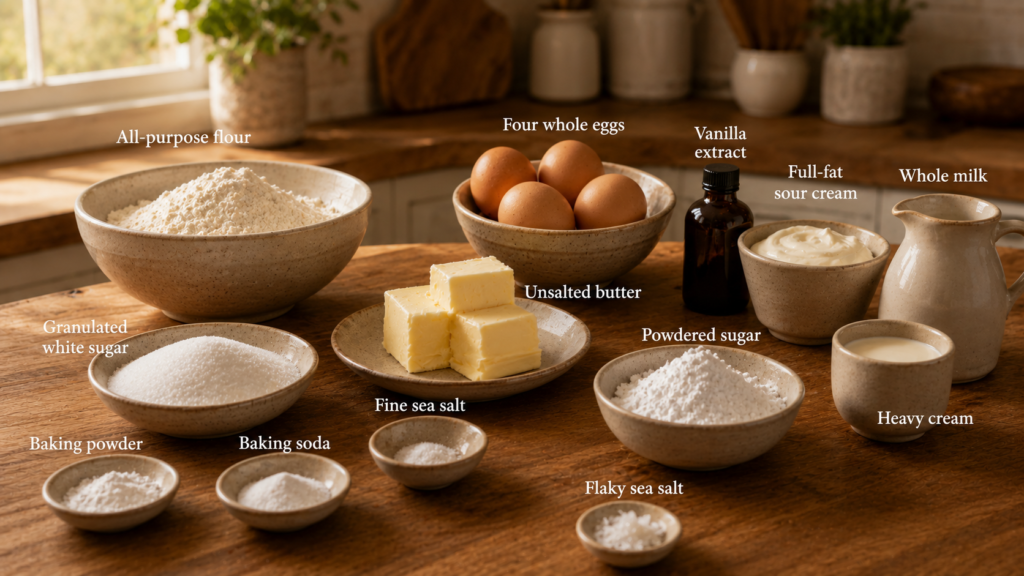
• 2 and 1/2 cups all-purpose flour
• 2 teaspoons baking powder
• 1/2 teaspoon baking soda
• 1 teaspoon fine sea salt
• 1 cup unsalted butter, softened at room temperature
• 2 cups granulated white sugar
• 4 large eggs, room temperature
• 1 tablespoon pure vanilla extract
• 1 cup full-fat sour cream
• 1/2 cup whole milk
For the Salted Caramel Sauce:
• 1 and 1/2 cups granulated white sugar
• 1/4 cup water
• 3/4 cup heavy cream, warmed
• 6 tablespoons unsalted butter, cubed
• 1 and 1/2 teaspoons flaky sea salt, plus more for topping
For the Caramel Buttercream:
• 1 and 1/2 cups unsalted butter, softened
• 3 cups powdered sugar, sifted
• 1/2 cup salted caramel sauce (from above)
• 2 tablespoons heavy cream
• Pinch of fine sea salt
Crockery and Time To Create
• Two 9-inch round cake pans
• One medium heavy-bottomed saucepan
• Stand mixer or hand mixer, mixing bowls, rubber spatula
• Offset spatula, cooling rack, cake board or serving plate
• Prep time: 35 minutes
• Bake time: 30 to 35 minutes
• Cooling and assembly time: 1 hour
• Total time: approximately 2 hours
• Servings: 12 to 14 slices
Ingredient Substitutions and Variations
• Sour cream: Full-fat Greek yogurt works in its place and keeps the crumb moist and tender without changing the flavor much.
• Whole milk: Buttermilk works beautifully here and adds a gentle tang that complements the caramel.
• All-purpose flour: Cake flour can replace it at a 1:1 ratio for an even softer, more delicate crumb.
• Granulated sugar (in caramel): Do not swap this one. Brown sugar changes the caramel process and can seize more easily.
• Flaky sea salt: Kosher salt works as a substitute, though you will want to use a little less since it is slightly stronger.
• Heavy cream (in buttercream): Whole milk can be used in a pinch, but the buttercream will be slightly less rich.
Step-by-Step Instructions
Step 1: Make the salted caramel sauce first
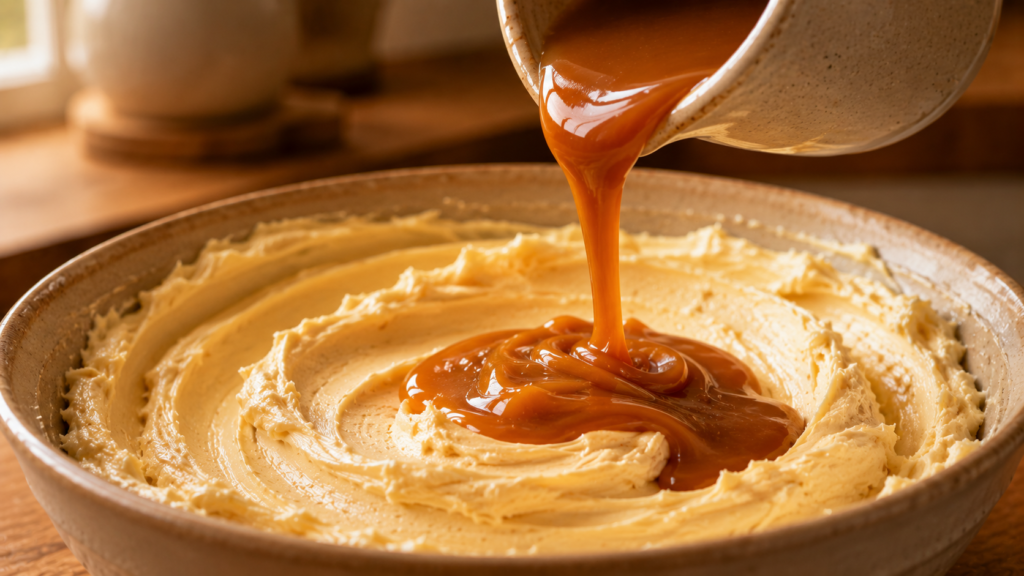
Combine the sugar and water in a heavy-bottomed saucepan over medium heat. Do not stir once it starts heating. Let it cook for 10 to 12 minutes, swirling the pan gently if needed, until it turns a deep amber color that smells nutty and rich. The moment it reaches that color, take it off the heat and carefully pour in the warmed cream. It will bubble up aggressively, which is completely normal. Whisk in the cubed butter one piece at a time, then stir in the flaky sea salt. Pour it into a heatproof jar and let it cool completely before using.
Step 2: Prepare the cake batter
Preheat your oven to 350F (175C) and grease both 9-inch pans, then line the bottoms with parchment paper. In a bowl, whisk together the flour, baking powder, baking soda, and sea salt. Set it aside. In a large bowl, beat the butter and sugar together on medium-high speed for about 4 to 5 minutes until the mixture is pale, fluffy, and looks almost like whipped cream. Add the eggs one at a time, beating well after each one, then add the vanilla extract and mix until combined.
Step 3: Combine wet and dry ingredients
Reduce the mixer speed to low and add the flour mixture in three additions, alternating with the sour cream and milk. Start and end with the flour. Mix only until just combined after each addition. Overmixing at this stage is what makes cake layers dense, so stop as soon as you see no streaks of flour.

Step 4: Bake the layers
Divide the batter evenly between the two prepared pans and smooth the tops with a spatula. Bake for 30 to 35 minutes, or until a toothpick inserted in the center comes out with just a few moist crumbs. The tops should spring back lightly when touched. Let the cakes cool in the pans for 15 minutes, then turn them out onto a wire rack to cool completely. Do not rush this step.
Step 5: Make the caramel buttercream
Beat the softened butter on medium-high speed for 3 to 4 minutes until it is light and fluffy. Add the sifted powdered sugar one cup at a time, mixing on low between each addition. Pour in the half cup of cooled caramel sauce, the heavy cream, and the pinch of salt. Beat everything together on medium-high for another 2 minutes until the buttercream is smooth, glossy, and holds soft peaks. If it feels too thick, add a teaspoon of cream at a time.
Step 6: Assemble the cake
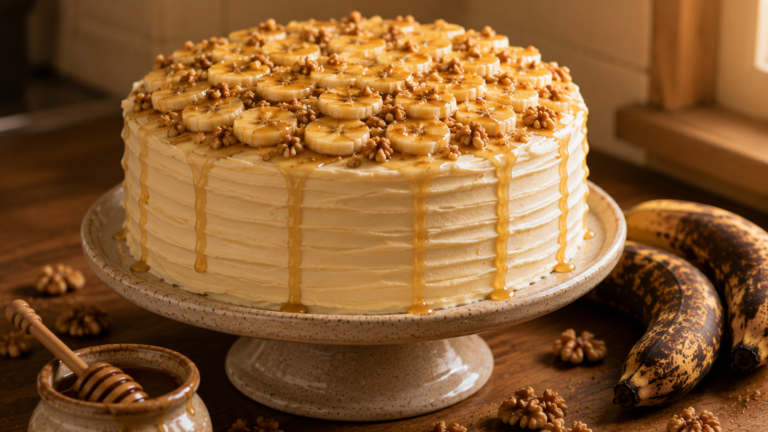
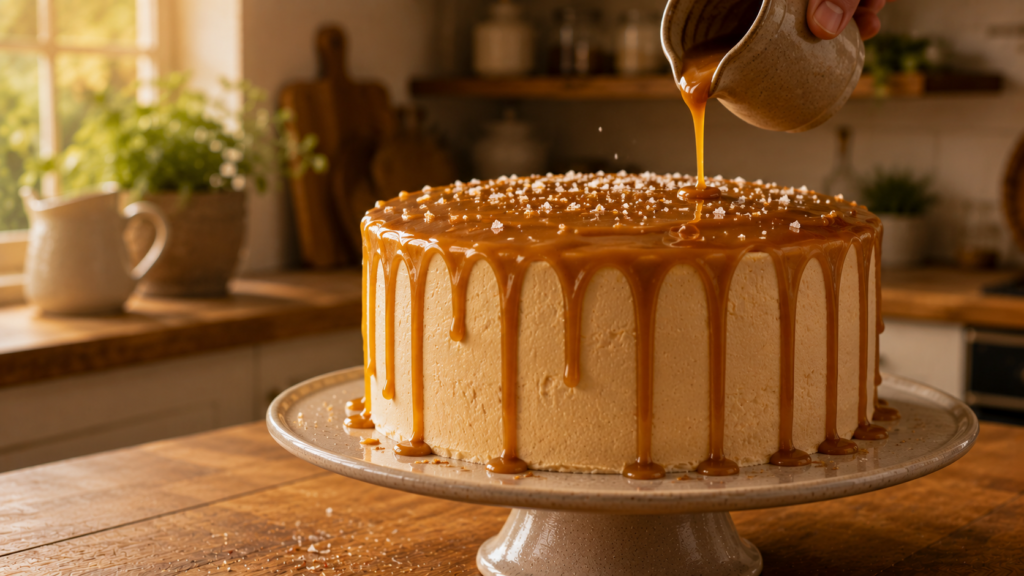
Place one cake layer on your serving board and spread a generous layer of caramel buttercream over the top. Drizzle 2 to 3 tablespoons of the caramel sauce over the buttercream layer before placing the second cake on top. Apply a thin crumb coat of buttercream all over the outside and refrigerate the cake for 20 minutes to set it. Then apply a final, smooth layer of buttercream. Drizzle the remaining caramel sauce over the top, letting it drip naturally down the sides. Finish with a pinch of flaky sea salt scattered over the top.
Pro Tips for Best Results
• Warm the heavy cream before adding it to the caramel so the temperature shock is less extreme and the sauce stays smooth.
• Make sure your butter is truly room temperature for the buttercream or it will look curdled and lumpy.
• Do not skip the crumb coat. It locks in any loose crumbs so your final layer stays clean.
• Let your caramel sauce cool fully before adding it to the buttercream, otherwise it will melt the butter and make the frosting runny.
• Use a kitchen scale to divide the batter evenly between both pans for layers that bake at the same rate.
• If your caramel begins to crystallize in the pan, do not stir. Just swirl gently and keep the heat steady.
Common Mistakes to Avoid
• Stirring the caramel while it cooks: This causes crystallization and you will end up with a grainy, solid mess. Let the heat do the work and only swirl the pan if needed.
• Adding cold cream to hot caramel: The temperature difference causes violent splattering and can seize the caramel. Always warm your cream before it goes in.
• Underbaking the cake layers: Pulling them too early means a wet, sunken center. Always check with a toothpick and look for the sides pulling away from the pan slightly.
• Frosting a warm cake: Even slightly warm layers will melt the buttercream and cause the whole thing to slide. Patience here is everything.
• Using salted butter in the caramel: You want to control the salt level yourself. Salted butter makes it difficult to get that precise sweet-salty balance right.
What to Serve With
• Vanilla bean ice cream: A cold scoop next to a warm or room-temperature slice creates a contrast that makes both things taste better.
• Strong black coffee or espresso: The slight bitterness cuts through the sweetness of the caramel and makes each bite feel more balanced.
• Fresh sliced pears or poached figs: The mild fruit flavor lifts the richness of the cake without overpowering the caramel.
Storage and Reheating
• Room temperature: Covered with a cake dome or loosely tented with plastic wrap, the cake keeps well for up to 2 days.
• Refrigerator: Store in an airtight container or covered cake stand for up to 5 days. Bring slices to room temperature before serving for the best texture.
• Freezer: Wrap individual slices tightly in plastic wrap, then in foil. Freeze for up to 2 months. Thaw overnight in the fridge.
• Reheating: Warm a slice in the microwave for 10 to 15 seconds if you want it slightly soft. The buttercream will soften naturally as it comes to room temperature.
Nutrition Information
Per serving (based on 12 slices):
| Nutrient | Per Serving |
| Calories | ~610 kcal |
| Total Fat | 34g |
| Saturated Fat | 21g |
| Carbohydrates | 74g |
| Sugar | 56g |
| Protein | 5g |
| Sodium | 310mg |
| Note: Values are estimates based on standard ingredients and may vary depending on brands and portion sizes. | |
Health Benefits
The flaky sea salt used in this cake is not just for flavor. Sea salt contains trace minerals like magnesium and potassium that refined table salt lacks, and using it in small amounts over a rich dessert can actually make the overall experience more satisfying so you tend to eat less.
Eggs and butter, two of the main ingredients here, provide fat-soluble vitamins including A, D, and E. When enjoyed as an occasional treat in a balanced diet, this kind of bake contributes meaningful nutrients alongside the indulgence, which is a fair trade for something this good.
Conclusion
This salted caramel cake is one of those recipes I come back to again and again because it never lets me down. The layers are soft, the buttercream is deeply flavored, and that caramel drip down the sides always gets a reaction. If you make it, take a photo before it disappears, because it tends to go fast. Share it, save it, and make it yours.