Sweet Cherry Pie Recipe That Tastes Like Summer in Every Bite
Meta Description: Bake this classic Sweet Cherry Pie with juicy cherries, a buttery lattice crust, and a hint of almond, the perfect dessert for summer gatherings.
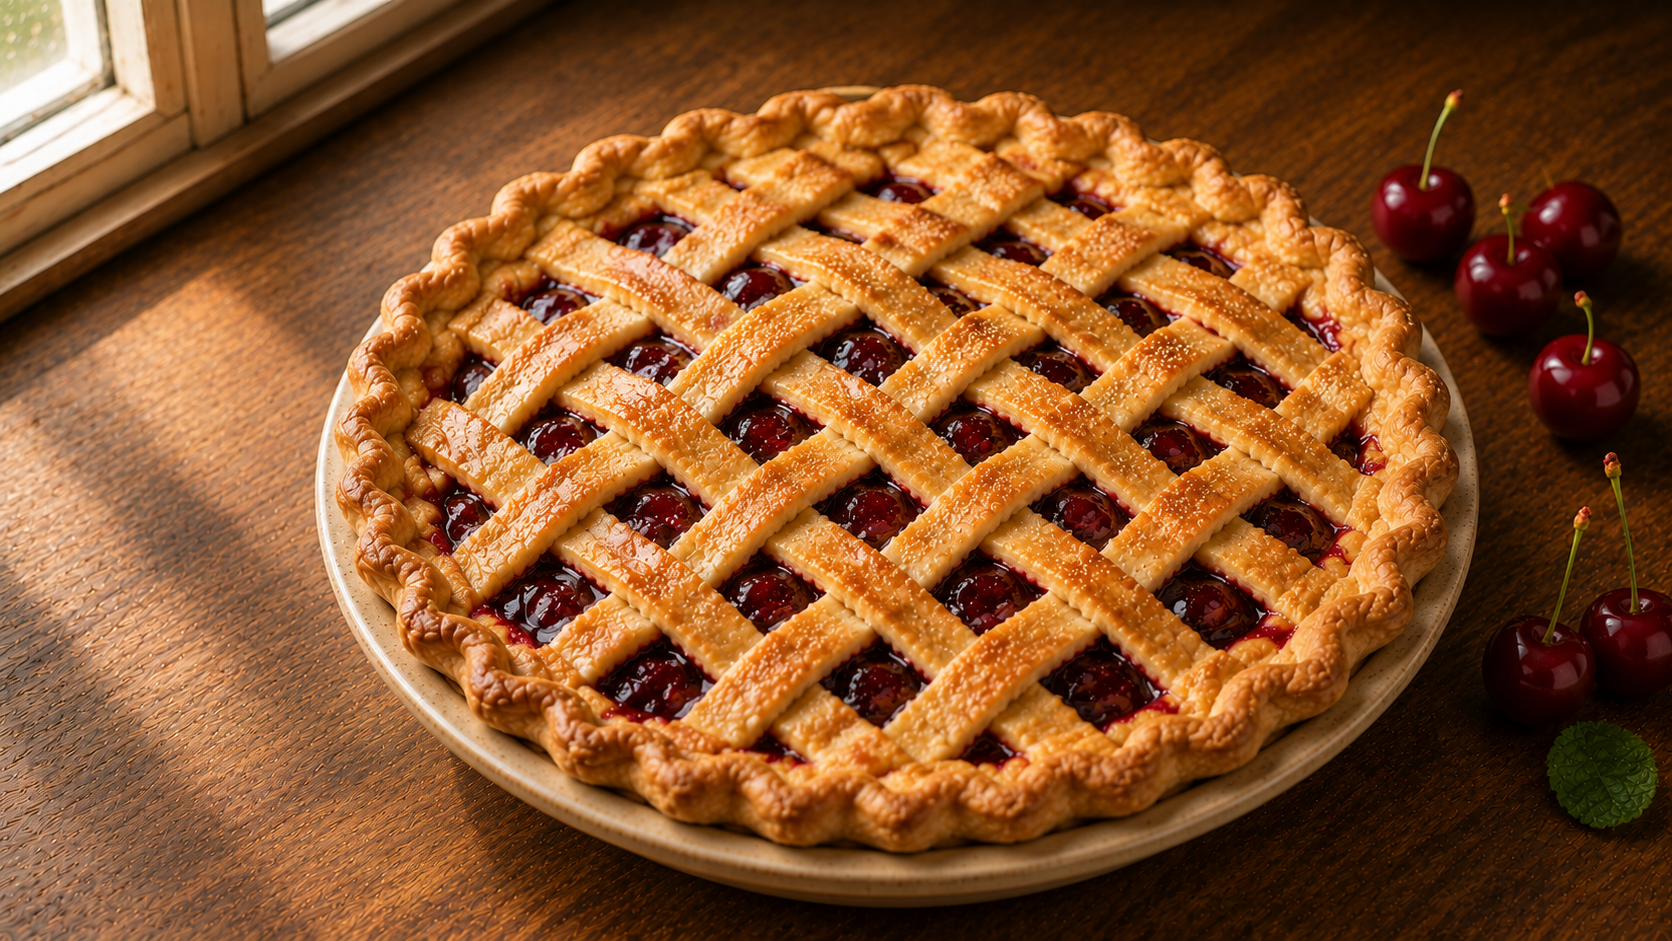
There is a particular kind of joy in pulling a bubbling cherry pie from the oven, its lattice crust glistening with juices that hint at the sweet tartness waiting underneath. This Cherry Pie recipe captures everything I love about summer baking, bright ripe cherries wrapped in a flaky, buttery crust that never lasts long on the counter.

Why You Will Love This Recipe
- The filling bursts with bright, juicy cherry flavor in every single bite.
- A flaky, buttery lattice crust adds beautiful texture and a homemade look.
- It is simple enough for a weeknight treat yet special enough for any gathering.
- A touch of almond extract deepens the cherry flavor without overpowering it.
- It slices cleanly once cooled, making for a picture perfect dessert.
Ingredients
For the crust
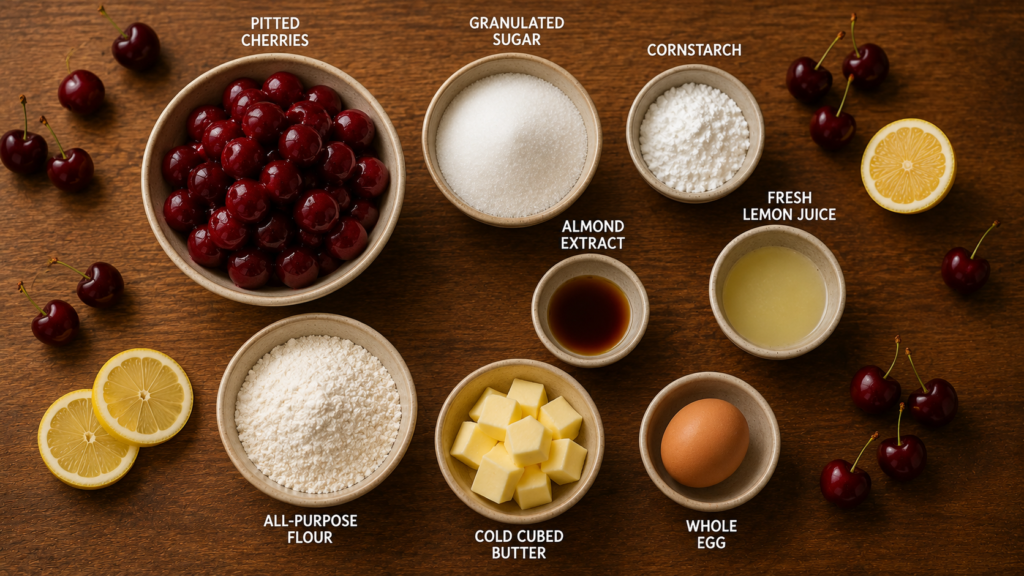
- 2.5 cups (315g) all-purpose flour
- 1 teaspoon salt
- 1 tablespoon granulated sugar
- 1 cup (225g) cold unsalted butter, cubed, keeps the crust flaky
- 6 to 8 tablespoons ice water
For the filling
- 5 cups (about 700g) pitted fresh or frozen sweet cherries
- 3/4 cup (150g) granulated sugar
- 1/4 cup (30g) cornstarch, thickens the juices as it bakes
- 1 tablespoon fresh lemon juice, brightens the cherry flavor
- 1/4 teaspoon almond extract, enhances the natural cherry taste
- 1/4 teaspoon salt
For finishing
- 1 large egg, beaten with 1 tablespoon water, for the egg wash
- 1 tablespoon coarse sugar, for sprinkling
Crockery and Time To Create
You will need a 9-inch pie dish, a rolling pin, a large mixing bowl, and a pastry cutter or food processor. Prep time is about 30 minutes with a 1 hour chilling period, and baking takes 50 to 55 minutes. This recipe makes one pie, serving 8 people.
Ingredient Substitutions and Variations
- Fresh Cherries: frozen cherries work just as well, simply thaw and drain excess liquid first.
- Cornstarch: tapioca starch can replace cornstarch for a slightly glossier, thicker filling.
- Almond Extract: vanilla extract can be used instead for a milder, classic flavor.
- Unsalted Butter: a mix of butter and shortening creates an even flakier crust.
- Granulated Sugar: coconut sugar adds a subtle caramel note if you prefer less refined sugar.
- Lemon Juice: orange juice adds a slightly different citrus brightness to the filling.
Step-by-Step Instructions
Step 1: Make the Dough In a large bowl, whisk together the flour, salt, and sugar. Add the cold cubed butter and cut it in using a pastry cutter until the mixture looks like coarse crumbs, about 5 minutes. Slowly add the ice water, mixing just until the dough comes together.
Step 2: Chill the Dough Divide the dough into two equal discs, wrap each in plastic, and refrigerate for at least 1 hour. This resting time keeps the crust tender and easy to roll.
Step 3: Prepare the Cherry Filling In a large bowl, toss the pitted cherries with sugar, cornstarch, lemon juice, almond extract, and salt. Let the mixture sit for 10 minutes so the cherries release some juice and the flavors combine.

Step 4: Roll Out the Bottom Crust On a lightly floured surface, roll one dough disc into a circle slightly larger than your pie dish. Carefully transfer it into the dish, pressing it gently into the bottom and up the sides.
Step 5: Add the Filling Pour the cherry filling into the crust, spreading it evenly so the fruit sits level across the dish.
Step 6: Create the Lattice Top Roll out the second dough disc and cut it into even strips. Weave the strips over the filling in a lattice pattern, trimming the edges and crimping to seal.
Step 7: Egg Wash and Bake Brush the lattice top with the egg wash and sprinkle generously with coarse sugar. Bake at 400°F (200°C) for 50 to 55 minutes, until the crust turns deep golden brown and the filling bubbles thickly through the lattice.

Step 8: Cool Completely Let the pie cool on a wire rack for at least 3 hours before slicing, this allows the filling to fully set for clean, neat pieces.
Pro Tips for Best Results
- Keep the butter and water ice cold for the flakiest possible crust.
- Drain frozen cherries well to avoid a watery filling.
- Let the pie cool completely before slicing for the cleanest cuts.
- Rotate the pie halfway through baking for even browning.
- Place a baking sheet underneath to catch any bubbling juices.
Common Mistakes to Avoid
- Skipping the chill time: this leads to a greasy, hard to roll dough, so always chill for the full hour.
- Using too little cornstarch: this results in a runny filling, so measure carefully for the right thickness.
- Cutting too early: slicing while warm causes the filling to spill out, so wait until it has fully cooled.
- Overworking the dough: this makes the crust tough, so mix just until it comes together.
What to Serve With / Meal Pairing Ideas
- Vanilla ice cream: its cold creaminess pairs perfectly with the warm, tart cherry filling.
- Whipped cream: a light, airy topping that complements the rich buttery crust.
- Iced coffee: its slight bitterness balances the sweetness of the pie beautifully.

Storage and Reheating
- Fridge: store covered in the refrigerator for up to 4 days.
- Freezer: wrap the baked pie tightly and freeze for up to 3 months.
- Reheating: warm slices in a 300°F oven for 10 minutes to refresh the crisp crust.
Nutrition Information
| Nutrient | Amount Per Serving |
|---|---|
| Calories | 320 kcal |
| Total Fat | 14g |
| Saturated Fat | 9g |
| Carbohydrates | 46g |
| Sugars | 25g |
| Fiber | 2g |
| Protein | 3g |
Health Benefits
Cherries are rich in antioxidants and vitamin C, which support immune health and help fight inflammation in the body. They also contain natural compounds that may support better sleep quality. Enjoyed in moderation, this pie offers a bit of fruity nourishment alongside its sweet, comforting flavor.
Conclusion
There is nothing quite like the smell of cherries and butter baking together, filling the whole kitchen with that unmistakable scent of summer. I hope this pie becomes a favorite in your home, whether you are baking for a holiday table or simply craving something sweet on a warm afternoon. Give it a try, save the recipe, and share a slice with someone who deserves a truly homemade dessert.