Zesty Key Lime Pie With a Buttery Graham Cracker Crust
Meta Description: This Zesty Key Lime Pie features a creamy tart filling in a buttery graham cracker crust, topped with fresh whipped cream for the perfect no-fuss dessert.
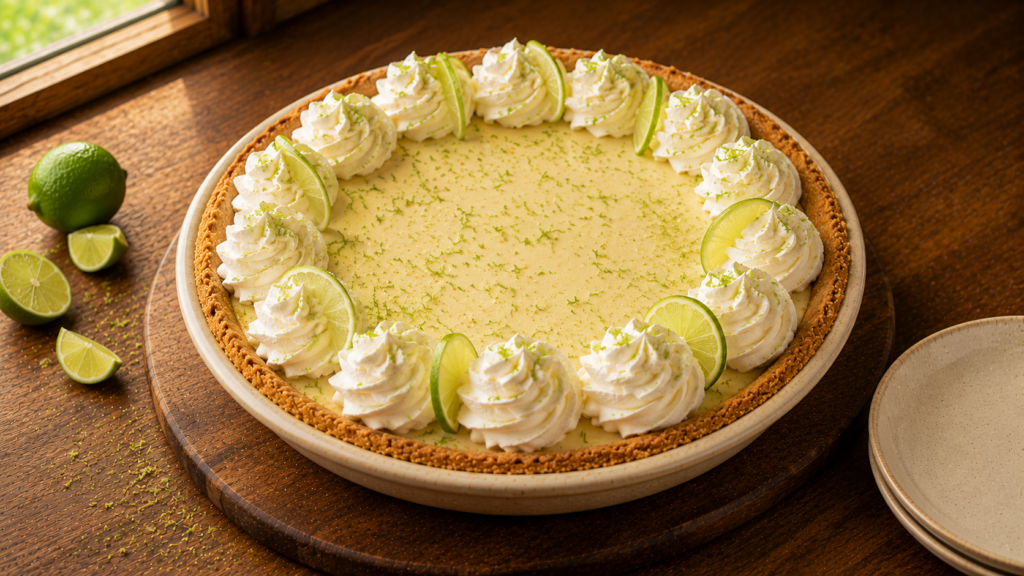
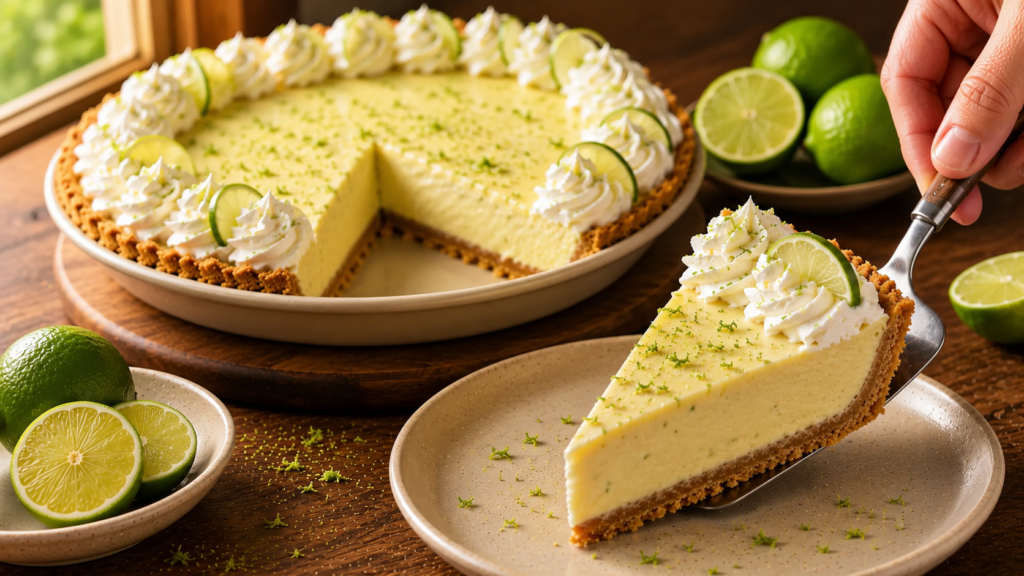
There is nothing quite like that first bite of a perfectly tart Key Lime Pie, the creamy filling cutting through a buttery graham cracker crust with just the right amount of sweetness. This recipe comes together with simple ingredients and no complicated steps, delivering that bright, tangy flavor that makes this pie a warm weather favorite.
Why You Will Love This Recipe
- The tangy lime filling delivers bright, refreshing flavor in every bite.
- A buttery graham cracker crust adds the perfect crunchy contrast.
- It requires no complicated techniques, making it approachable for any baker.
- The creamy texture sets perfectly with just a short bake and chill.
- It looks impressive enough for guests while staying simple to prepare.
Ingredients
For the crust
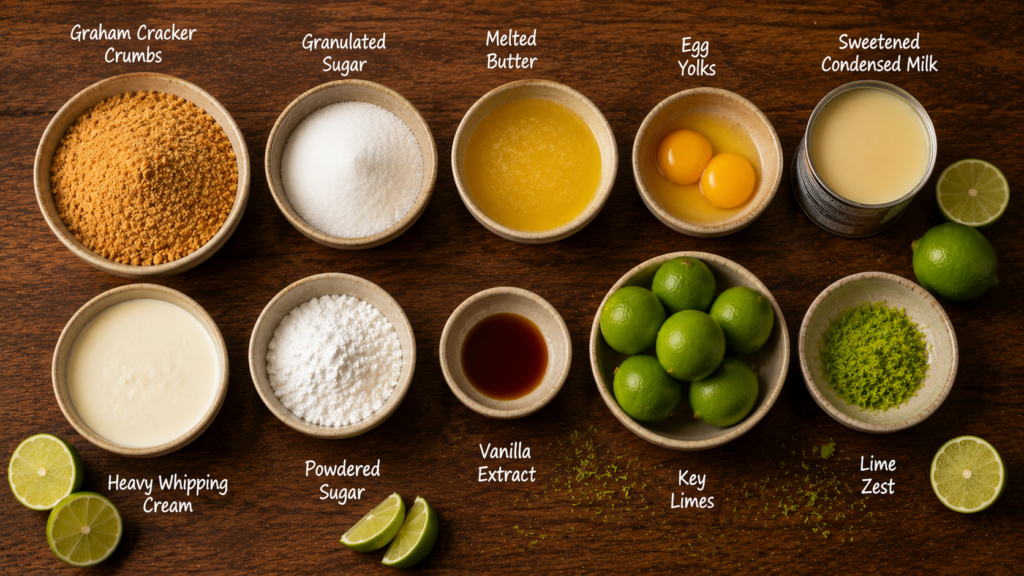
- 1.5 cups (150g) graham cracker crumbs
- 1/3 cup (65g) granulated sugar
- 6 tablespoons (85g) unsalted butter, melted, this binds the crumbs together
For the filling
- 4 large egg yolks
- 1 can (14 oz) sweetened condensed milk
- 3/4 cup (180ml) fresh key lime juice, regular lime juice works if key limes are unavailable
- 1 tablespoon lime zest, adds extra brightness to the filling
For the topping
- 1 cup (240ml) heavy whipping cream
- 3 tablespoons powdered sugar
- 1/2 teaspoon vanilla extract
- Extra lime zest, for garnish
Crockery and Time To Create
You will need a 9-inch pie dish, a mixing bowl, an electric mixer, and a fine grater for zesting. Prep time is about 20 minutes, baking takes 15 minutes, and the pie needs at least 3 hours to chill. This recipe makes one pie, serving 8 people.
Ingredient Substitutions and Variations
- Key Lime Juice: regular lime juice works well if key limes are hard to find in your area.
- Graham Cracker Crumbs: crushed digestive biscuits make a great substitute with a similar texture.
- Sweetened Condensed Milk: a dairy free condensed milk alternative works for a lactose free version.
- Heavy Whipping Cream: coconut cream can replace the whipped topping for a dairy free finish.
- Unsalted Butter: coconut oil can be used in the crust for a slightly different flavor profile.
- Egg Yolks: the filling sets primarily from the condensed milk, so this substitution is not recommended.
Step-by-Step Instructions
Step 1: Make the Crust In a bowl, stir together the graham cracker crumbs, sugar, and melted butter until the mixture resembles wet sand. Press the mixture firmly into the bottom and up the sides of the pie dish.
Step 2: Pre-Bake the Crust Bake the crust at 350°F (175°C) for 8 to 10 minutes, until lightly golden and fragrant. Remove from the oven and let it cool slightly while you prepare the filling.
Step 3: Whisk the Egg Yolks In a mixing bowl, whisk the egg yolks for about 2 minutes until they turn pale and slightly thickened.
Step 4: Add the Condensed Milk Slowly whisk in the sweetened condensed milk until the mixture is smooth and fully combined.
Step 5: Add the Lime Juice and Zest Whisk in the key lime juice and lime zest, mixing until the filling thickens slightly and turns a pale, creamy color.

Step 6: Bake the Pie Pour the filling into the pre-baked crust and bake at 350°F (175°C) for 15 minutes, until the edges are just set but the center still has a slight jiggle.
Step 7: Chill Completely Let the pie cool to room temperature, then refrigerate for at least 3 hours, or until fully set and firm to the touch.
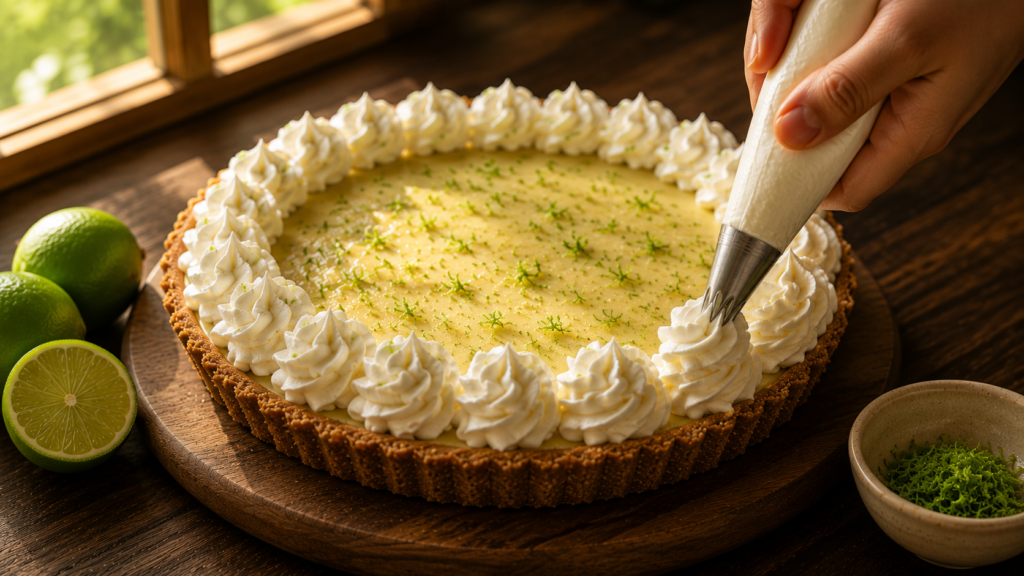
Step 8: Add the Whipped Topping Whip the heavy cream with powdered sugar and vanilla extract until soft peaks form, then spread or pipe over the chilled pie. Garnish with extra lime zest before serving.
Pro Tips for Best Results
- Use fresh lime juice for the brightest, most authentic flavor.
- Do not overbake the filling, a slight jiggle in the center is exactly right.
- Chill the pie fully before slicing for the cleanest cuts.
- Zest the limes before juicing them, it is much easier that way.
- Whip the cream just before serving so it holds its shape longer.
Common Mistakes to Avoid
- Using bottled lime juice only: this can taste flat, so fresh juice gives the best bright flavor.
- Overbaking the filling: this can cause cracking, so pull it out while the center still jiggles slightly.
- Skipping the chill time: this results in a runny filling, so give it the full 3 hours to set.
- Overworking the crust mixture: this can make it dense, so press it gently but firmly into the dish.
What to Serve With / Meal Pairing Ideas
- Fresh berries: their natural sweetness pairs well with the tart lime filling.
- Iced tea: a refreshing drink that complements the pie’s bright citrus flavor.
- Coconut shavings: a light sprinkle adds a tropical touch alongside the lime.
Storage and Reheating
- Fridge: store covered in the refrigerator for up to 4 days.
- Freezer: freeze the pie without the whipped topping for up to 2 months, thaw overnight before serving.
- Reheating: this pie is served chilled and does not require reheating.
Nutrition Information
| Nutrient | Amount Per Serving |
|---|---|
| Calories | 350 kcal |
| Total Fat | 18g |
| Saturated Fat | 11g |
| Carbohydrates | 42g |
| Sugars | 34g |
| Fiber | 1g |
| Protein | 6g |
Health Benefits
Lime juice offers a good source of vitamin C, which supports immune health and adds natural brightness without excess sugar. The eggs in the filling contribute protein along with important nutrients like choline. Enjoyed as an occasional treat, this pie offers a refreshing citrus lift alongside its creamy sweetness.
Conclusion
There is something so satisfying about slicing into a perfectly set Key Lime Pie and finding that bright, tangy filling waiting beneath a cloud of whipped cream, the kind of dessert that instantly feels like a celebration. I hope this recipe becomes your go-to for warm weather gatherings or anytime you are craving something refreshingly sweet. Give it a try, save the recipe, and share a slice with someone who deserves a truly homemade dessert.