Gooey Cherry Pineapple Dump Cake With Buttery Crisp Topping
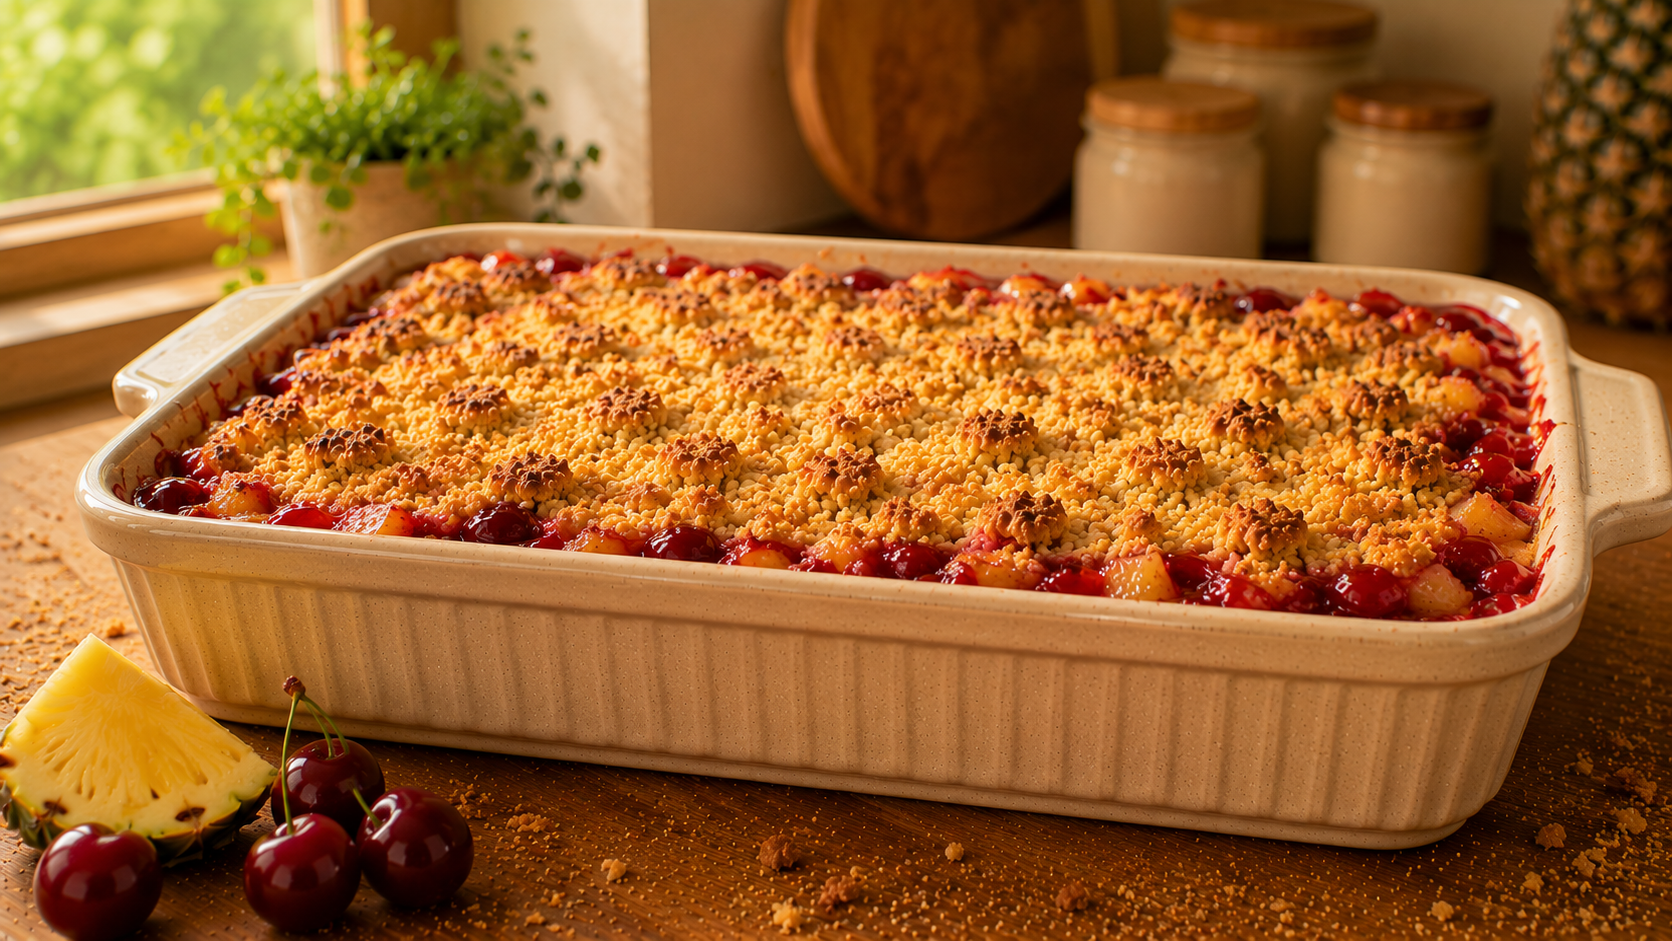
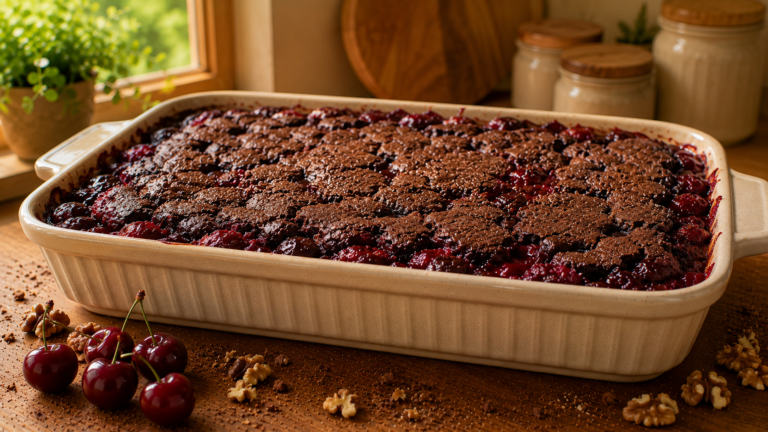
My grandmother kept a recipe box stuffed with index cards, and one of the most stained, dog-eared cards in that whole collection was her Cherry Pineapple Dump Cake. Four ingredients, one pan, zero fuss. I made it last Sunday and watched it disappear before it had fully cooled. This recipe delivers exactly what the name promises, without apology.
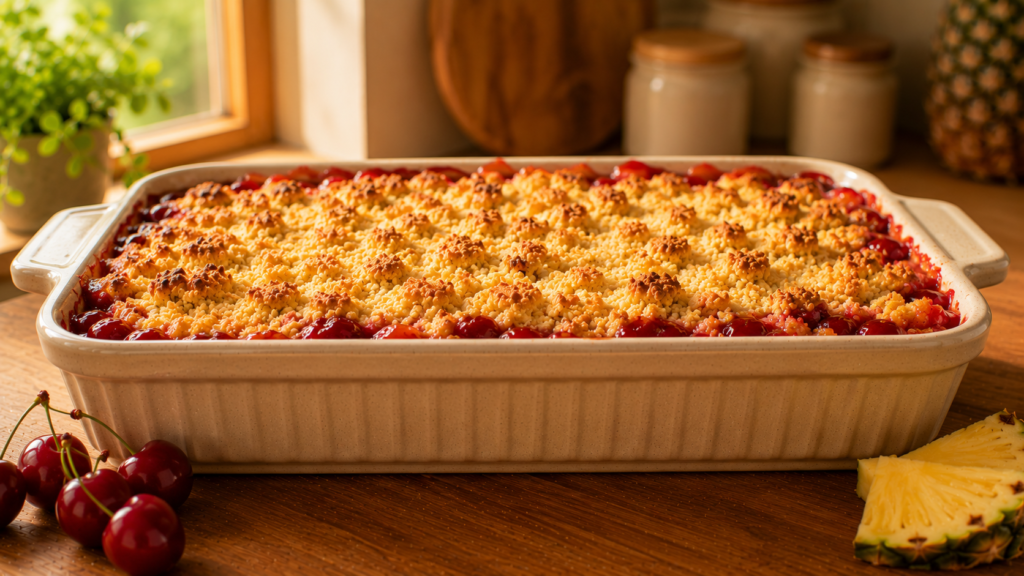
The fruit bubbles up through the cake mix as it bakes, creating pockets of jammy sweetness underneath a golden, crumbly, butter-soaked crust. Cherry Pineapple Dump Cake is the kind of dessert that makes people ask for the recipe before they even finish their slice.
Why You Will Love This Recipe
- The combination of tart cherries and sweet crushed pineapple creates a balanced, layered fruit base that tastes far more complex than the effort involved.
- The top bakes into a golden, crackly, buttery crust that contrasts beautifully with the soft, jammy fruit underneath.
- You do not need a mixer, a bowl, or any special equipment, just a baking dish and a can opener.
- It is endlessly adaptable with different fruit fillings, cake mix flavors, or added toppings like coconut or pecans.
- It works equally well served warm as a dessert with ice cream or at room temperature as a casual afternoon treat.
Ingredients
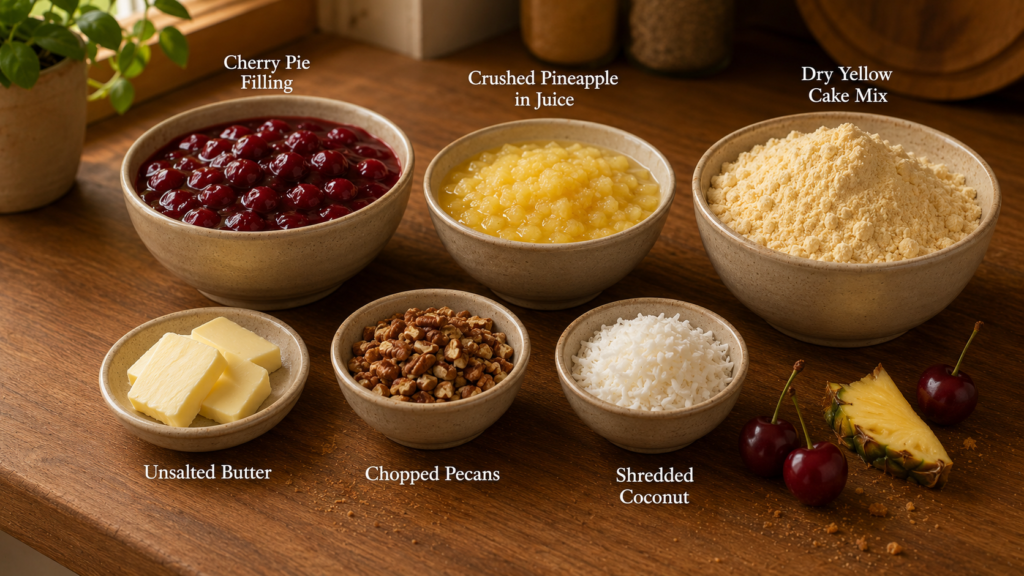
- 1 can (21 oz) cherry pie filling
- 1 can (20 oz) crushed pineapple in juice, undrained
- 1 box (15.25 oz) yellow cake mix (dry, straight from the box)
- 1 cup (2 sticks / 225g) unsalted butter, thinly sliced
- Optional: 1/2 cup chopped pecans or walnuts for added crunch
- Optional: 1/2 cup sweetened shredded coconut for a tropical finish
Crockery and Time To Create
- 9×13 inch baking dish (ceramic or glass preferred)
- Can opener
- Sharp knife for slicing butter
- Total time: 55 minutes (10 minutes prep, 45 minutes bake)
- Servings: 12 to 15
Ingredient Substitutions and Variations
- White Cake Mix: Replaces yellow cake mix for a lighter, more neutral flavor that lets the fruit shine through more prominently.
- Spice Cake Mix: Replaces yellow cake mix for a warm, autumnal version with cinnamon and nutmeg notes that pair especially well with the cherries.
- Blueberry Pie Filling: Replaces cherry pie filling for a different fruit profile that works beautifully with the pineapple base.
- Salted Butter: Replaces unsalted butter and adds a subtle salty contrast that actually enhances the sweetness of the fruit layer.
- Coconut Oil (melted): Replaces butter for a dairy-free version; drizzle it evenly to mimic the coverage you get from butter slices.
- Pineapple Chunks: Replaces crushed pineapple for a chunkier, more textured fruit base with bigger bites of pineapple throughout.
Step-by-Step Instructions
Step 1: Preheat and prepare your baking dish. Heat your oven to 350°F (175°C). Lightly grease your 9×13 inch baking dish with a little butter or non-stick spray. This prevents the fruit layer from sticking to the sides and makes serving much cleaner.
Step 2: Layer the pineapple. Pour the entire can of crushed pineapple, juice included, directly into the bottom of the baking dish. Spread it out evenly with a spoon so the whole base is covered. The juice is important here. It keeps the bottom moist and helps the fruit layer bubble up through the cake mix during baking.
Step 3: Add the cherry pie filling. Spoon the cherry pie filling directly on top of the pineapple layer. Spread it out gently but do not mix the two layers together. You want distinct layers so both fruits hold their character during baking. The red and yellow contrast also looks beautiful before the cake mix goes on.
Step 4: Dump the dry cake mix. Open your box of yellow cake mix and pour it evenly over the fruit. Do not mix. Do not stir. Spread it gently with a spoon or your hands until the fruit is completely covered with an even, dry layer of cake mix. There should be no fruit peeking through.

Step 5: Add the butter slices. Lay thin slices of butter across the entire surface of the dry cake mix. Try to cover as much surface area as possible, aiming for even distribution. Any dry spots left uncovered by butter will bake up powdery instead of golden. I usually do overlapping rows and then tuck in a few extra pieces around the edges.

Step 6: Add optional toppings. If you are using pecans or coconut, scatter them evenly over the butter layer now, before baking.
Step 7: Bake until golden and bubbly. Place the dish in the preheated oven and bake for 45 to 50 minutes. You are looking for a deep golden brown crust on top and visible bubbling around the edges where the fruit is pushing through. If the top browns too quickly before the edges bubble, loosely tent it with foil for the last 10 minutes.
Step 8: Rest before serving. Let the dump cake rest for at least 10 minutes after pulling it from the oven. The fruit layer thickens slightly as it cools, making it easier to scoop and serve.
Pro Tips for Best Results
- Slice your butter as thin as possible, close to 1/4 inch or thinner, so it melts quickly and covers the dry cake mix before the edges start to crisp.
- Always use undrained crushed pineapple; the juice is what creates the steam that helps the cake mix absorb and cook through properly.
- If you notice any white patches of dry cake mix after baking, use a spoon to break them up and mix them into the golden top crust. They are harmless but texturally unpleasant.
- For a more even butter coverage, melt the butter completely and drizzle it over the cake mix in a thin stream using a spoon, moving back and forth across the surface.
- Do not use a mixing bowl at any stage. The whole point of this recipe is that each layer stays separate until the oven does the work.
Common Mistakes to Avoid
- Mixing the layers together: The layers need to stay distinct so each one cooks properly. Stirring the fruit and cake mix together results in a dense, gummy interior that never fully sets.
- Leaving dry spots under the butter: Any area of cake mix not reached by melting butter will stay raw and chalky. Cover the surface completely, overlapping slices if needed.
- Overbaking: Once the top is deep golden and the edges are actively bubbling, it is done. Going past 50 minutes dries out the fruit layer and makes the crust too hard to scoop through cleanly.
- Using drained pineapple: Draining removes the liquid the bottom layer needs to stay moist and to activate the dry cake mix properly. Always use it undrained.
- Serving too soon: Cutting into it straight from the oven makes the fruit layer runny and hard to serve. Ten minutes of resting makes a real difference.
What to Serve With
- Vanilla ice cream: The contrast between cold, creamy ice cream and the warm, gooey cherry pineapple base is the classic pairing for this dessert and the one most people reach for first.
- Freshly whipped cream: A dollop of lightly sweetened whipped cream adds a lighter, airy contrast without competing with the fruit flavors the way a heavier topping might.
- Strong black coffee: The bitterness of coffee cuts through the sweetness of the cake cleanly and makes this work equally well as an afternoon treat as it does a proper dessert.

Storage and Reheating
- Fridge: Cover tightly with plastic wrap or transfer to an airtight container and refrigerate for up to 4 days. The crust softens slightly but the flavor deepens overnight.
- Freezer: Portion into individual servings, wrap tightly in plastic wrap, and freeze for up to 2 months. Thaw in the fridge overnight before reheating.
- Reheating: Warm individual portions in the microwave for 45 to 60 seconds, or reheat the whole dish covered with foil at 325°F for 15 to 20 minutes until warmed through. Add a fresh scoop of ice cream right after reheating.
Nutrition Information
| Nutrient | Per Serving |
|---|---|
| Calories | 320 kcal |
| Total Fat | 14g |
| Saturated Fat | 8g |
| Carbohydrates | 48g |
| Sugars | 29g |
| Protein | 2g |
| Sodium | 310mg |
| Fiber | 1g |
| Nutritional values are estimates based on standard ingredients and may vary depending on specific brands and portion sizes used. | |
Health Benefits
Cherries are one of the more underrated fruits when it comes to natural anti-inflammatories. They contain anthocyanins, which are the compounds responsible for their deep red color and which have been linked to reduced muscle soreness and improved sleep quality. Using cherry pie filling gives you some of those benefits alongside the flavor.
Pineapple brings bromelain to the table, an enzyme that supports digestion and has mild anti-inflammatory properties. It also contributes manganese and vitamin C, both of which support immune function. In the context of a dessert, these are small contributions, but they are real ones.
Conclusion
Cherry Pineapple Dump Cake is the kind of recipe that earns a permanent spot in your rotation not because it impresses with complexity, but because it delivers every single time with almost no effort. Make it for a weeknight treat, a potluck, or any occasion where you need something warm, comforting, and genuinely crowd-pleasing. If you try it, I hope it becomes as stained and dog-eared in your recipe collection as it is in mine. Save it, share it, and let the oven do all the work.