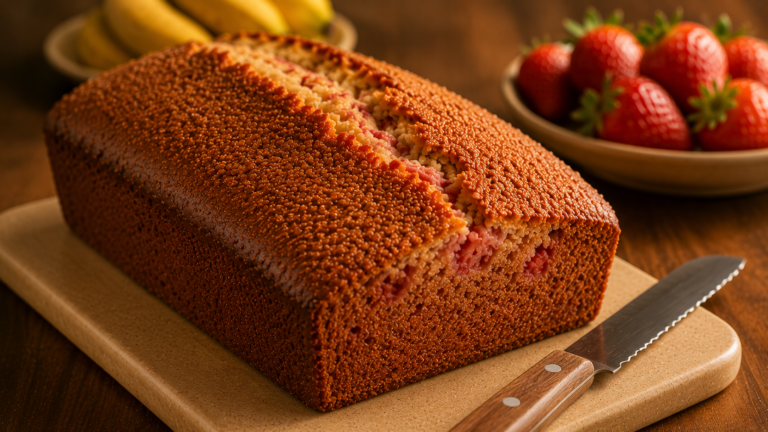
Pillowy Soft Dinner Rolls with a Golden Butter Crust
Pull-apart dinner rolls have one structural requirement that most recipes understate: the dough needs to be softer and stickier than you think is correct. Stiff dough produces tight rolls that tear rather than pull, and no amount of butter brushed on top fixes a crumb that was too dry before it went into the oven.
These dinner rolls use a enriched yeast dough with butter, egg, and milk that bakes into a feather-soft interior with a thin, golden, buttered crust that tears cleanly at the table.

Why You Will Love This Recipe
- An enriched dough made with butter, egg, and whole milk produces a crumb that is genuinely feather-soft and stays that way for two days without any additional moisture tricks.
- Baking the rolls pressed snugly against each other in a single pan creates the pull-apart effect at the table while also allowing the sides of each roll to stay soft and pillowy rather than developing a hard crust.
- A double butter brushing, once before baking and once immediately out of the oven, builds a thin golden crust that is rich, slightly salty, and the first thing anyone reaches for.
- The dough is made entirely by hand with no stand mixer required, and the kneading takes only 8 minutes once you understand what the correct dough texture feels like.
- These rolls rise once in the bowl and once in the pan, and the total active work time is under 25 minutes across the whole recipe.
Ingredients
For the enriched dinner roll dough:
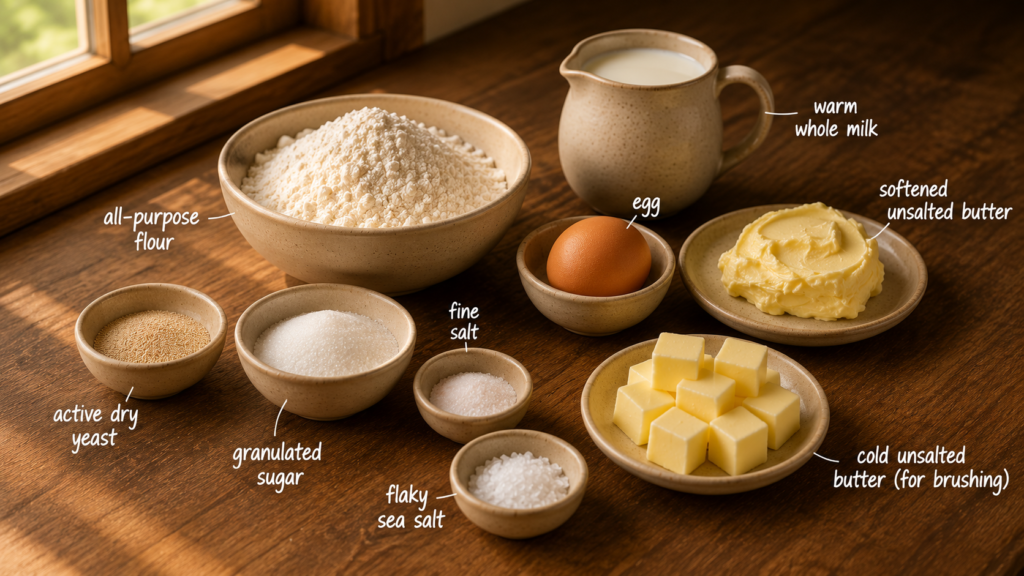
- 2 and 1/4 teaspoons active dry yeast, one standard packet
- 1 teaspoon granulated sugar, for proofing
- 3/4 cup warm whole milk, between 105 and 110 degrees Fahrenheit
- 2 and 1/2 cups all-purpose flour, plus extra for dusting
- 2 tablespoons granulated sugar
- 3/4 teaspoon fine salt
- 1 large egg, at room temperature
- 3 tablespoons unsalted butter, softened to room temperature
For the butter crust:
- 3 tablespoons unsalted butter, melted
- 1 pinch flaky sea salt, optional for finishing
Softened butter works into enriched dough more evenly than melted butter and produces a more tender, uniform crumb. Cold butter tears the gluten structure and creates pockets rather than distributing evenly. Room temperature means the butter holds a finger indent without resistance — not greasy, not firm.
Crockery and Time To Create
You will need one large mixing bowl, a clean work surface for kneading, a 9 by 13 inch baking pan or a 9-inch round cake pan for 9 rolls, and a pastry brush. Total time is 2 hours including both rises. The recipe makes 12 rolls in a 9 by 13 inch pan or 9 rolls in a round pan, serving 6 to 8 people.
Ingredient Substitutions and Variations
- Bread flour: replaces all-purpose flour and produces a chewier roll with a slightly more defined structure and better gluten development that holds the pull-apart shape even more cleanly.
- Honey: replaces the granulated sugar in the dough at the same volume and adds a subtle floral sweetness and a slightly more golden crust color during baking.
- Salted butter: replaces unsalted butter throughout and removes the need for the optional flaky salt finish, though the salt level in the dough itself may need a slight reduction.
- Garlic herb butter: replaces the plain melted butter for the crust by adding 1 minced garlic clove and 1 teaspoon of fresh chopped parsley to the melted butter for a savory dinner roll variation.
- Whole wheat flour: replaces up to one third of the all-purpose flour for a slightly nutty, more textured roll that still rises well due to the remaining white flour content.
Step-by-Step Instructions
- In a large mixing bowl combine the warm milk, 1 teaspoon of sugar, and the yeast. Stir gently and leave for 5 to 7 minutes until the surface is foamy and the mixture smells active and yeasty. If no foam appears after 7 minutes the yeast is not active. Start again with fresh yeast and check the milk temperature.
- Add the 2 tablespoons of sugar, salt, and egg to the yeast mixture and whisk briefly to combine. Add 2 cups of the flour and mix with a fork until a shaggy dough forms. Add the remaining half cup of flour gradually, adding it one tablespoon at a time, until the dough comes together into a sticky but manageable mass that pulls away from the bowl sides.
- Turn the dough out onto a lightly floured surface and knead for 3 minutes until the dough begins to smooth out. It will still be slightly sticky at this stage, which is correct. Add the softened butter one tablespoon at a time, kneading each addition in fully before adding the next. This takes patience because the butter will seem to resist incorporation at first and the dough will become slippery before it smooths out again. Continue kneading for a further 5 minutes after the last butter addition until the dough is smooth, elastic, and very slightly tacky. It should pass the windowpane test: a small piece stretched between your fingers should stretch thin enough to see light through without tearing.
- Shape the dough into a ball and place it in a lightly oiled bowl, turning once to coat. Cover with a damp clean cloth and leave in a warm place for 1 hour to 1 hour 15 minutes until doubled in size.
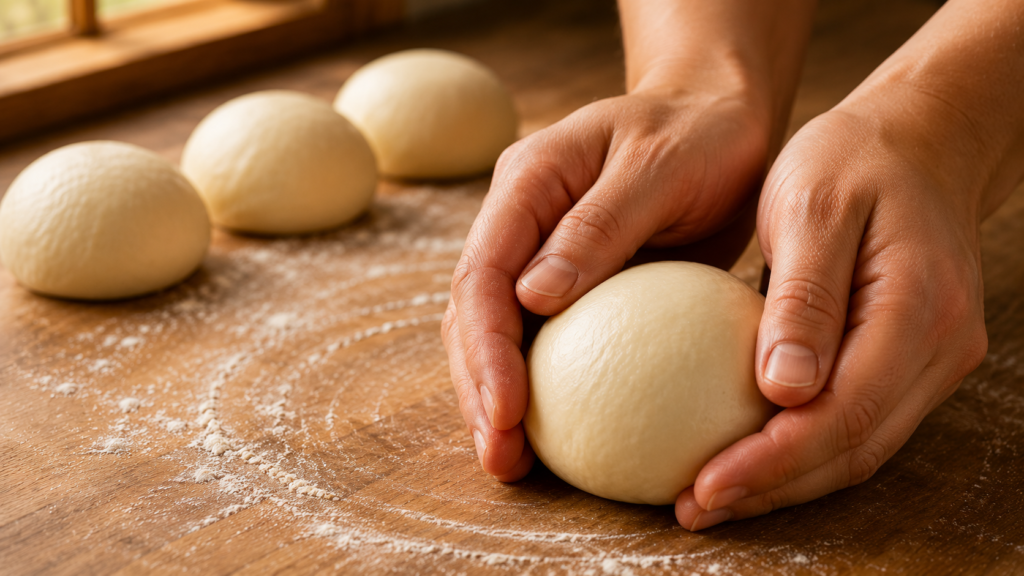
- Grease the baking pan generously with butter. Punch the risen dough down gently. Turn it out onto a lightly floured surface and divide it into 12 equal pieces, each approximately 55 grams if you have a scale, or as equal as you can manage by eye.
- Shape each piece into a smooth ball by pulling the dough down and under from the top, rotating the ball in your palm against the counter to build surface tension and create a tight, smooth skin. Place each ball seam side down in the prepared pan, arranging them in 3 rows of 4 for a 9 by 13 inch pan, or in a ring with one center roll for a 9-inch round pan. The rolls should be touching or nearly touching.
- Brush the tops of the rolls lightly with half the melted butter. Cover loosely with a clean damp cloth and leave to rise in a warm place for 40 to 50 minutes until the rolls are visibly puffed, touching each other, and the dough springs back very slowly when poked.
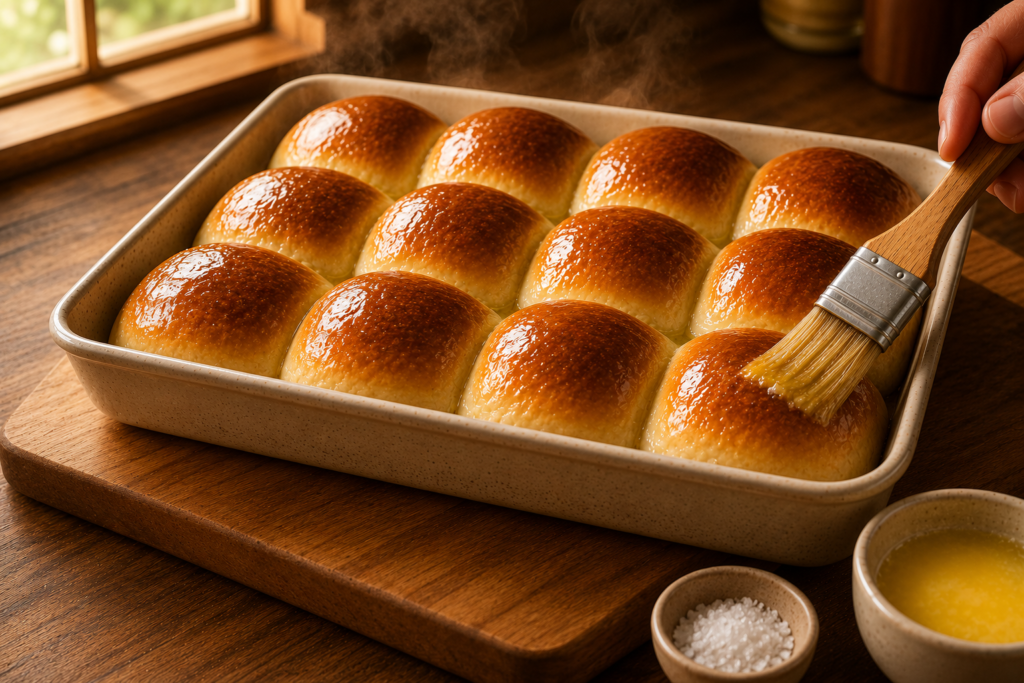
- Preheat your oven to 375 degrees Fahrenheit during the second rise. Bake for 18 to 22 minutes until the tops are deep golden brown and the rolls sound hollow when tapped on top. The internal temperature of the center roll should reach 190 degrees Fahrenheit if you have an instant-read thermometer.
- Immediately brush the remaining melted butter generously over the hot rolls straight from the oven. The butter absorbs into the crust while it is still steaming and creates the characteristic soft, golden, richly flavored surface. Sprinkle with flaky sea salt if using. Serve warm.
Pro Tips for Best Results
- Proof the yeast in warm milk rather than water, because the fat and protein in the milk feed the yeast differently and produce a more active, vigorous proof that gives the dough its best rise.
- Add the softened butter gradually during kneading rather than all at once, because the fat coats the gluten strands if added too fast and prevents proper development, resulting in a weaker dough that does not hold its shape during proofing.
- Use a scale to divide the dough into equal pieces if possible, because uneven rolls proof and bake at different rates and the smaller ones will overbrown before the larger ones are cooked through.
- Do not skip the second butter brush immediately out of the oven. Butter applied to cold or room temperature rolls sits on the surface rather than absorbing in, and the absorption during those first hot minutes is what makes the crust soft and rich rather than dry and plain.
- Serve within 2 hours of baking if possible. Enriched rolls decline faster than lean breads because the fat in the dough that makes them so soft at their peak also makes them stale relatively quickly compared to a plain white roll.
Common Mistakes to Avoid
- Using milk that is too hot: above 115 degrees Fahrenheit kills the yeast and the dough will not rise regardless of how long you wait. Test the milk on your inner wrist — it should feel warm and comfortable, not hot.
- Under-kneading after the butter addition: the dough will feel smooth before the gluten is fully developed after the butter goes in. Continue kneading for the full 5 minutes after the last butter addition even if the dough looks done earlier.
- Spacing the rolls too far apart in the pan: rolls with space around them develop a hard crust on all sides rather than the soft sides that pull-apart rolls require. Arrange them touching or nearly touching from the start.
- Opening the oven door during the first 12 minutes of baking: the rolls are in their final spring during this period and the temperature drop from an open oven door can cause them to deflate and develop a dense, tight crumb.
What to Serve With
- Roast beef with pan gravy: the soft, enriched pull-apart rolls absorb the gravy in a way that a harder-crusted bread never quite manages, making them the natural partner for any roasted meat with pan juices.
- Whipped honey butter: a small pot of honey butter on the table alongside a basket of warm rolls is the kind of simple touch that makes any meal feel considered and generous.
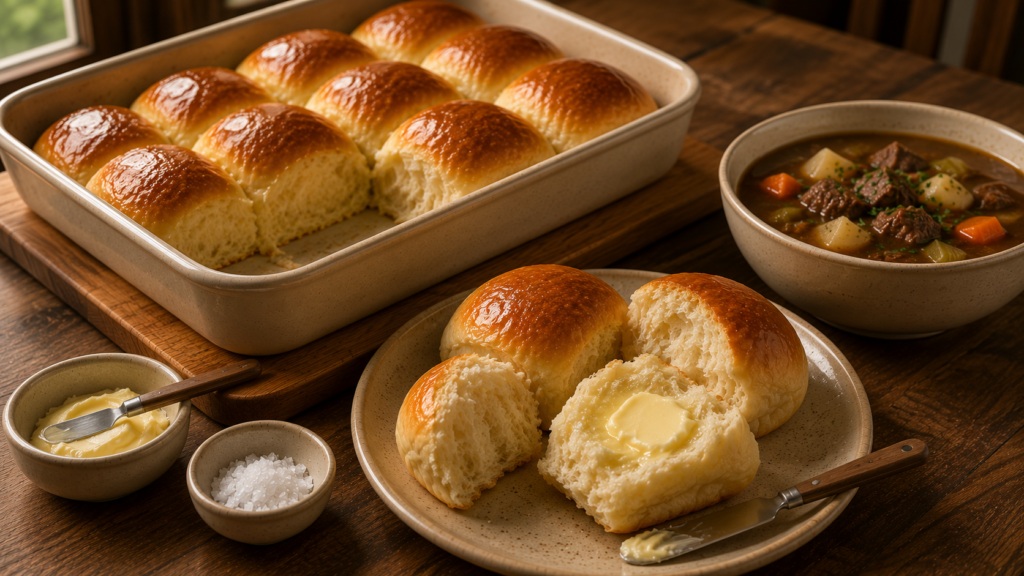
- Beef and vegetable soup: the rolls work beautifully as a dunking bread alongside a clear or brothy soup, the soft interior soaking up the broth without disintegrating into the bowl.
Storage and Reheating
- Room temperature: store cooled rolls in an airtight container or bag for up to 2 days. Enriched rolls stale faster than plain breads so airtight storage is more important than usual.
- Fridge: refrigerate for up to 4 days, though the texture is noticeably better at room temperature. Warm before serving.
- Freezer: freeze cooled rolls in a sealed bag for up to 2 months. Thaw at room temperature for 30 minutes before reheating.
- Reheating: wrap rolls loosely in foil and warm in a 325 degree Fahrenheit oven for 8 to 10 minutes. Brush with a small amount of fresh melted butter immediately after reheating to restore the soft, rich surface.
Nutrition Information
| Nutrient | Per Serving (1 roll) |
|---|---|
| Calories | 182 kcal |
| Carbohydrates | 26 g |
| Protein | 4 g |
| Fat | 7 g |
| Saturated Fat | 4 g |
| Cholesterol | 28 mg |
| Sodium | 168 mg |
| Fiber | 0.5 g |
| Sugar | 4 g |
| Nutrition values are estimates only and will vary based on specific ingredients and portion sizes used. | |
Health Benefits
Whole milk in the dough contributes calcium, vitamin D, and a complete set of fat-soluble vitamins that water-based doughs do not provide. The egg adds choline, which supports brain function and liver health, along with a meaningful amount of complete protein that makes each roll more satiating than a plain flour and water roll of the same size.
Yeast fermentation during the two-rise process partially breaks down some of the phytic acid naturally present in the flour, which improves the bioavailability of the minerals in the wheat. This is a small but genuine nutritional benefit that quick breads made with baking powder do not share, and it is one reason why slow-risen yeast breads have historically been considered more digestible than chemically leavened alternatives.
Conclusion
Dinner rolls made from an enriched yeast dough are one of those things that change how a meal feels at the table in a way that is difficult to quantify but immediately obvious to everyone eating. Make them once and I think the effort will feel entirely proportional to the result. Save the recipe, double the batch for any gathering, and brush them with butter twice without apology. That is the whole secret.