Chewy Granola Bars Packed with Oats, Honey, and Toasted Nuts
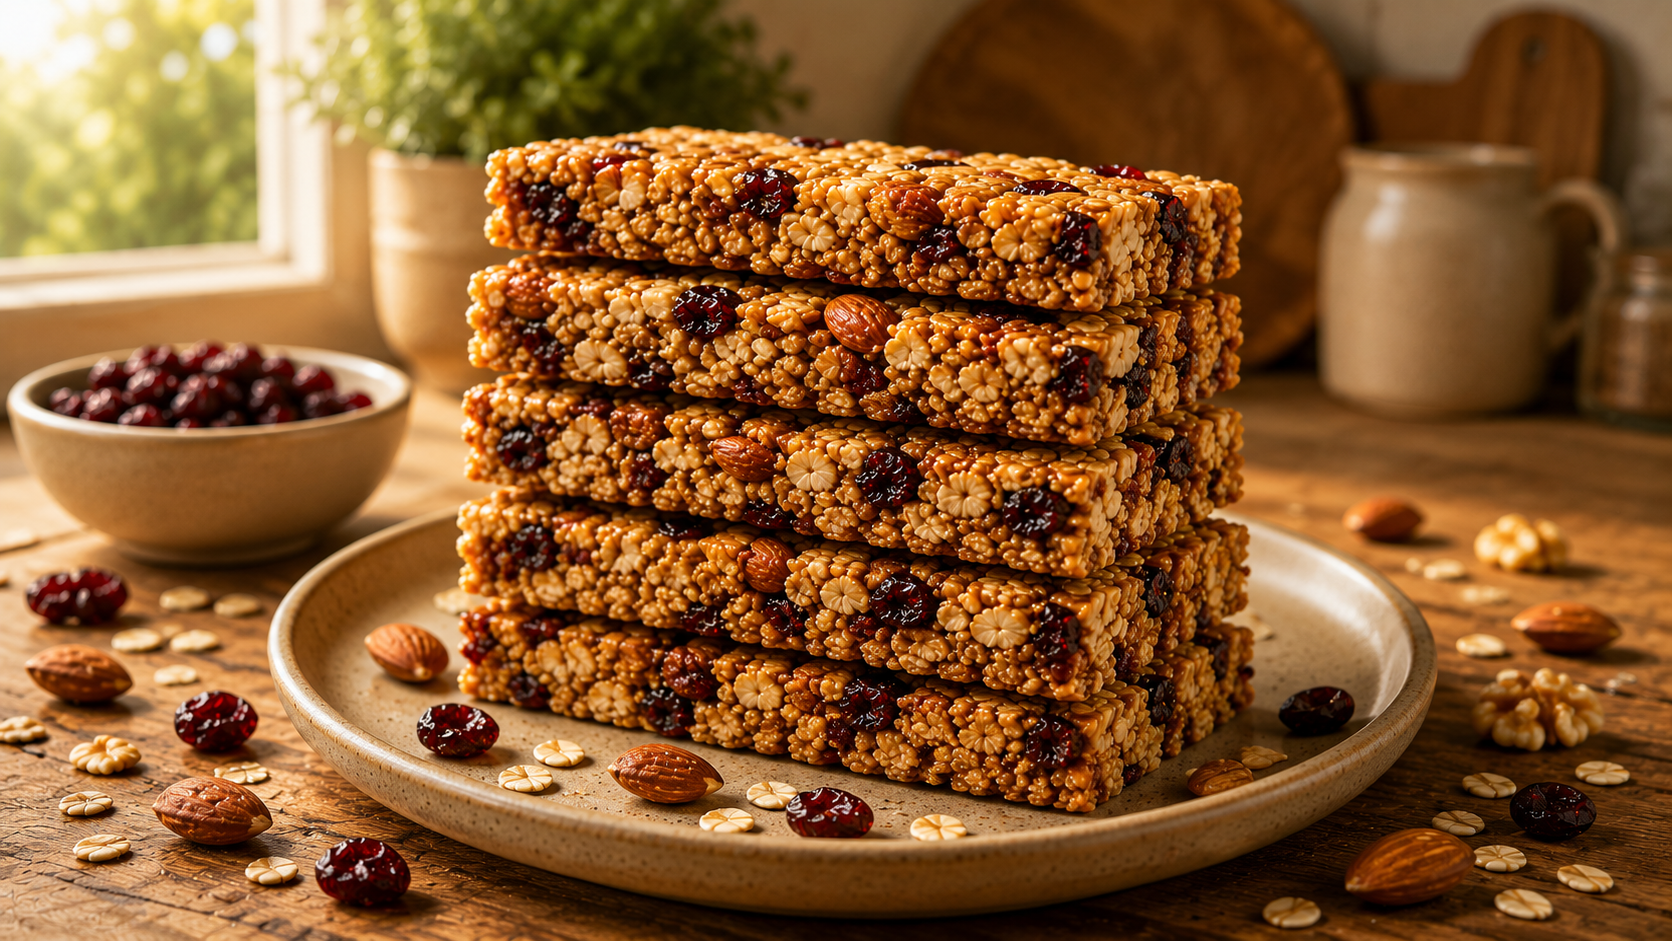
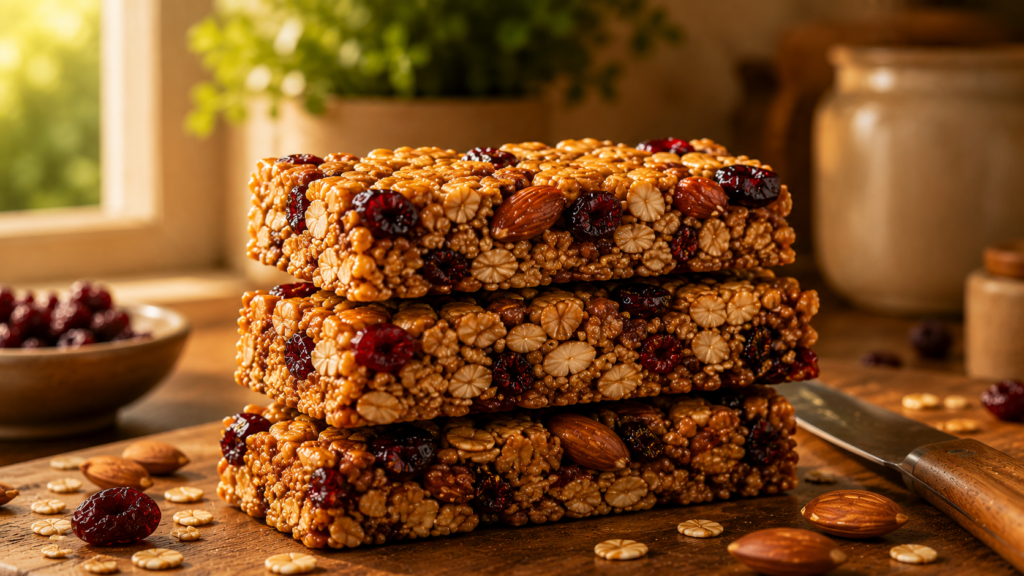
The first batch of granola bars I ever pressed into a pan fell apart the moment I sliced it, so I learned quickly that pressing firmly matters more than any ingredient. These chewy granola bars hold together perfectly, packed with toasted oats, honey, and nuts for a snack that survives lunchboxes and long hikes alike.
Why You Will Love This Recipe
- The toasted oats and nuts give every bar a deep, nutty flavor you cannot get from store-bought versions.
- They stay chewy in the center with a slightly crisp edge, never dry or crumbly.
- One batch makes enough bars to last the whole week for snacks or lunchboxes.
- No refined sugar is needed since honey does all the sweetening and binding.
- Easy to customize with whatever nuts, seeds, or dried fruit you have in the pantry.
Ingredients
- 2 1/2 cups old-fashioned rolled oats
- 1 cup mixed nuts, roughly chopped (almonds, walnuts, or pecans)
- 1/3 cup chia seeds
- 1/2 teaspoon ground cinnamon
- 1/4 teaspoon fine sea salt
- 2/3 cup honey
- 1/3 cup natural peanut butter or almond butter
- 2 tablespoons coconut oil, melted
- 1 teaspoon pure vanilla extract
- 1/2 cup dried cranberries or chopped dried apricots

Crockery and Time To Create
You will need a rimmed baking sheet, a large mixing bowl, a small saucepan, and an 8×8 inch baking pan lined with parchment paper. Total time is 45 minutes, including chilling. This recipe makes 12 bars.
Ingredient Substitutions and Variations
- Peanut Butter: swap for sunflower seed butter to make these bars nut-butter allergy friendly without losing the binding texture.
- Honey: replace with maple syrup for a fully vegan version, the bars will hold together just as well.
- Dried Cranberries: swap for chopped dates or raisins if you prefer a deeper, less tart sweetness.
- Mixed Nuts: substitute with pepitas and sunflower seeds for a nut-free version that is still crunchy.
- Coconut Oil: use melted butter instead if you are not dairy-free, it adds a slightly richer flavor.
Step-by-Step Instructions
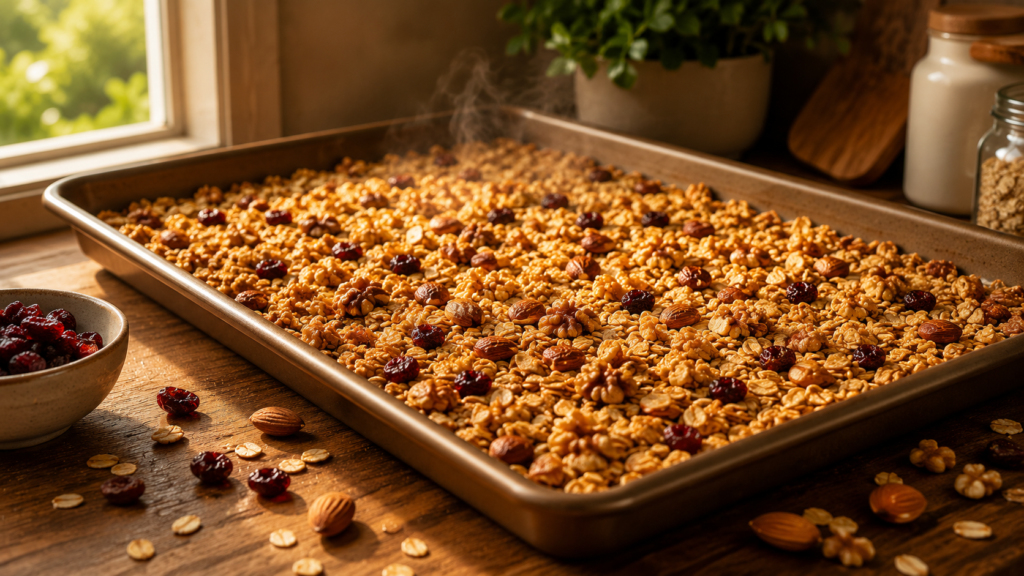
Step 1: Toast the oats and nuts. Spread the rolled oats and chopped nuts in an even layer on a rimmed baking sheet. Toast in a 350°F oven for 8 to 10 minutes, stirring once halfway through, until the oats turn light golden and smell nutty. Set aside to cool slightly.
Step 2: Warm the binding mixture. In a small saucepan over low heat, combine the honey, peanut butter, and melted coconut oil. Stir constantly for 2 to 3 minutes until smooth and slightly thinned, then remove from heat and stir in the vanilla extract.
Step 3: Press the mixture into the pan. In a large mixing bowl, combine the toasted oats and nuts with the chia seeds, cinnamon, salt, and dried fruit. Pour the warm honey mixture over the top and stir until every piece is evenly coated. Transfer to the lined 8×8 pan and press down firmly and evenly using the back of a spatula or your palms, packing the mixture tightly into the corners.

Step 4: Chill and slice. Refrigerate the pan for at least 2 hours, or until completely firm to the touch. Lift the block out using the parchment overhang, then slice into 12 even bars with a sharp knife using a straight downward motion.
Pro Tips for Best Results
- Press the mixture as firmly as you can, weak pressing is the main reason bars fall apart later.
- Let the honey mixture cool slightly before mixing so it does not melt the chia seeds’ texture.
- Use a sharp knife wiped clean between cuts for the neatest bar edges.
- Store bars with parchment between layers so they do not stick together in the fridge.
Common Mistakes to Avoid
- Skipping the toasting step: raw oats taste flat and pale, so always toast for deeper flavor and better texture.
- Cutting bars while warm: they crumble instantly, so always chill fully before slicing.
- Not pressing firmly enough: loose bars fall apart when picked up, so pack the mixture tightly into every corner.
- Using quick oats instead of rolled oats: they turn mushy and lose the chewy bite these bars are known for.
What to Serve With
- A cold glass of milk or oat milk: balances the sweetness and makes for an easy afternoon snack.
- Fresh sliced apples: their crisp tartness pairs naturally with the honey and nuts.
- A cup of black coffee: the bitterness contrasts nicely with the bar’s sweetness for a morning pairing.

Storage and Reheating
- Fridge: store in an airtight container for up to 2 weeks, with parchment between layers.
- Freezer: wrap bars individually and freeze for up to 3 months, thaw at room temperature for 20 minutes before eating.
- Reheating: these bars are meant to be eaten cold or at room temperature, no reheating needed.
Nutrition Information
| Nutrient | Per Serving |
|---|---|
| Calories | 210 |
| Total Fat | 11g |
| Carbohydrates | 25g |
| Protein | 6g |
| Fiber | 4g |
| Sodium | 85mg |
| Nutritional values are estimates and may vary based on specific ingredients used. | |
Health Benefits
Oats provide slow-releasing energy and fiber that keeps you full between meals, while chia seeds add a boost of omega-3 fatty acids and additional fiber to each bite. Honey offers natural sweetness without the blood sugar spike of refined sugar. Nuts contribute healthy fats and plant-based protein, making these bars a genuinely satisfying snack rather than an empty-calorie treat, ideal for busy mornings or post-workout fuel.
Conclusion
These granola bars have earned a permanent spot in my kitchen because they solve the same problem every time, a homemade snack that actually holds together and tastes better than anything store-bought. Make a batch this weekend, keep it stocked in the fridge, and save this recipe for the next time you need a reliable snack on hand.