Rich Chocolate Dump Cake With an Irresistible Gooey Center
My grandmother made this every Sunday when the chocolate craving hit and nobody wanted to spend an hour in the kitchen. One bowl, one pan, no mixer. That is the entire story of chocolate dump cake, and it never gets old.
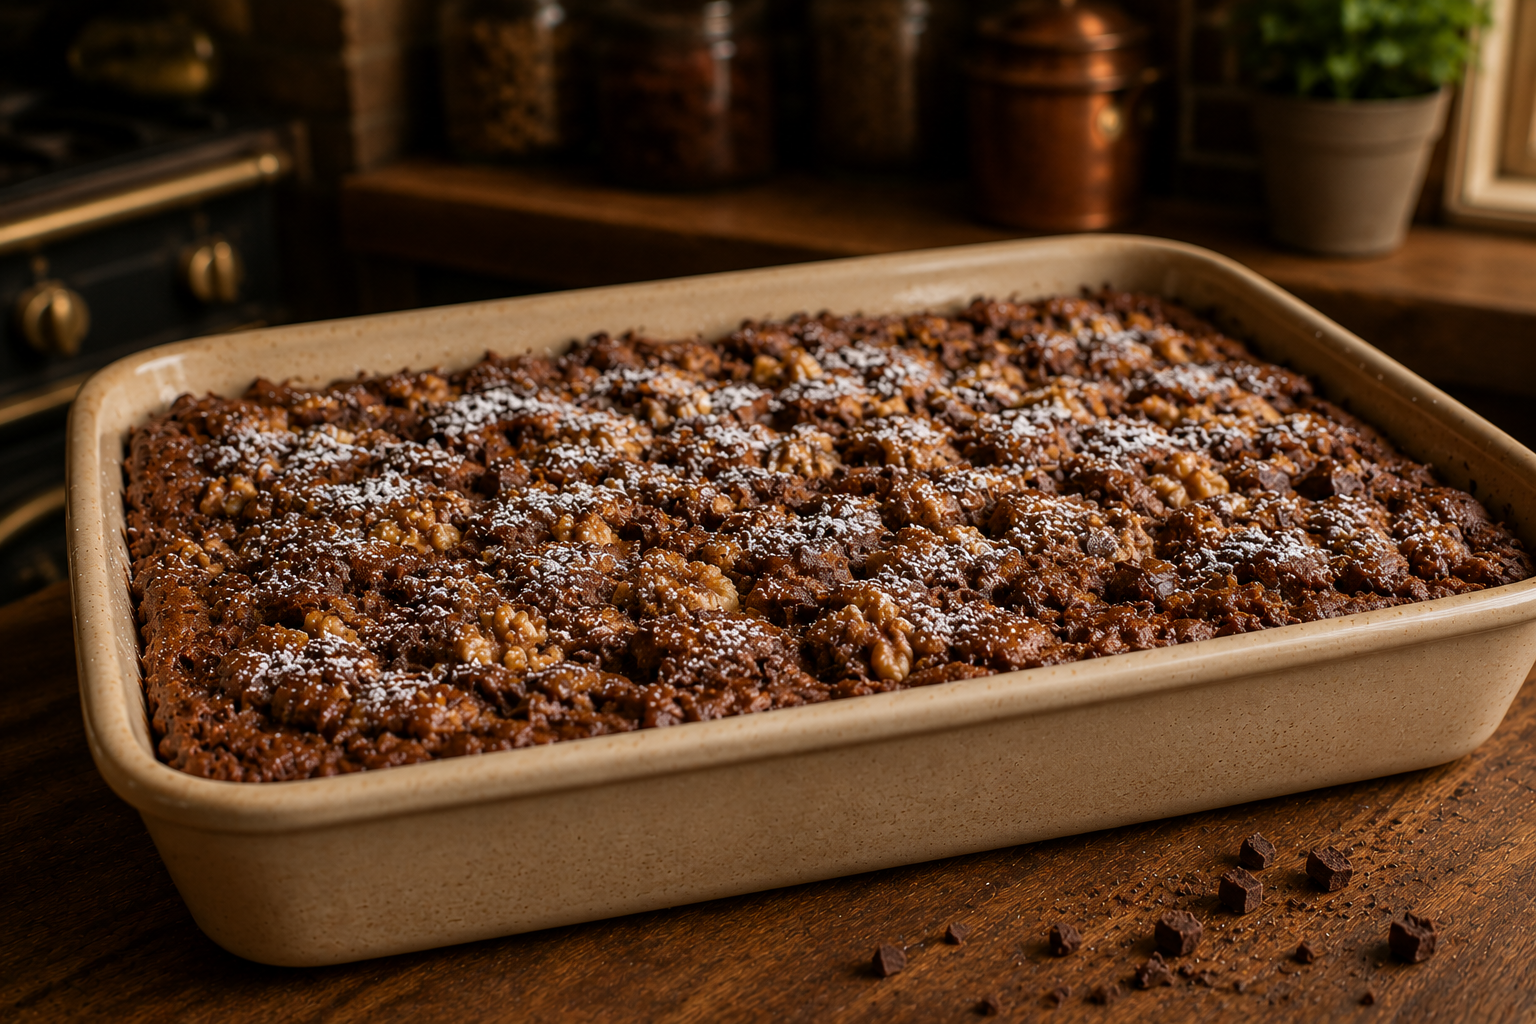
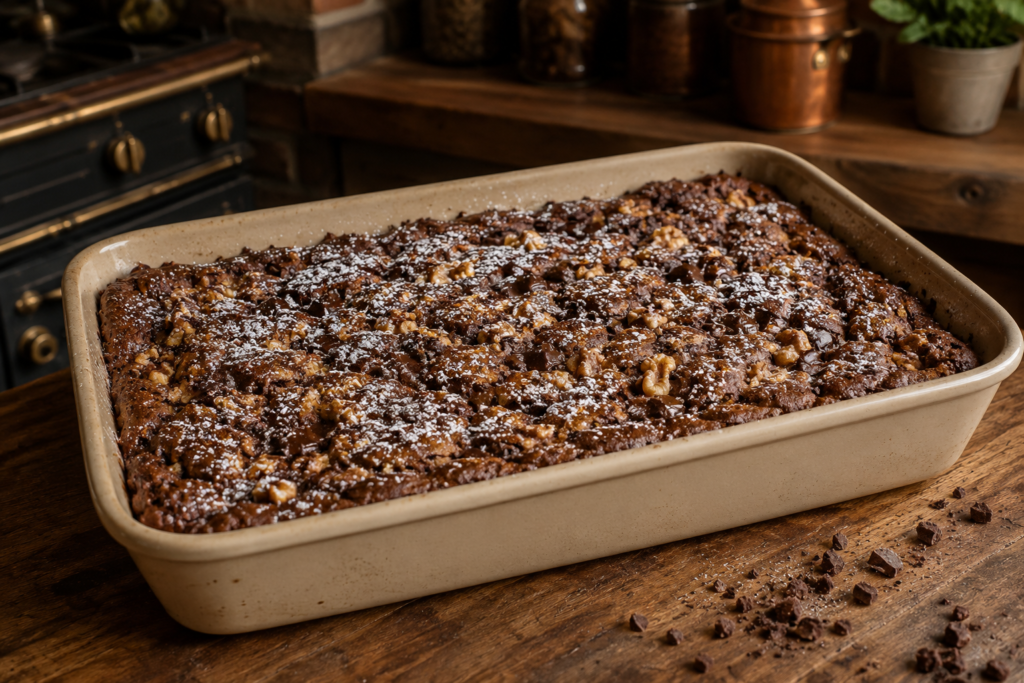
What I love most about this recipe is how the dry cake mix and melted butter create their own fudgy crust as they bake together over the chocolate filling. The result is somewhere between a brownie and a molten pudding, and it happens almost without trying.
Why You Will Love This Recipe
- The texture is deeply fudgy at the center with slightly crisp caramelized edges that contrast beautifully with every bite.
- You literally dump everything into the pan in layers, no mixing, no creaming, no technique required.
- It bakes in under 45 minutes and comes out looking and tasting like you put in serious effort.
- The recipe works as a weeknight dessert, a potluck showstopper, or a last-minute dinner party closer.
- It pairs perfectly with cold vanilla ice cream, which melts into the warm cake and makes the whole thing even more indulgent.
Ingredients
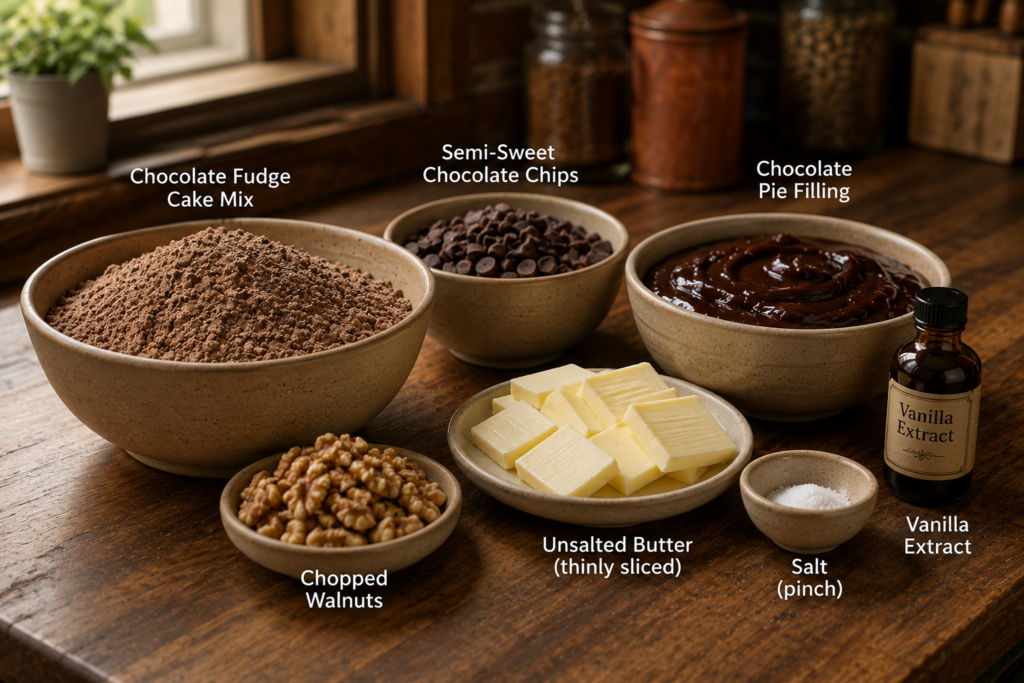
- 1 box (15.25 oz) chocolate fudge cake mix
- 1 can (21 oz) chocolate pie filling
- 1/2 cup (1 stick / 113g) unsalted butter, thinly sliced
- 1/2 cup semi-sweet chocolate chips
- 1/2 cup chopped walnuts (optional but recommended)
- 1 tsp vanilla extract
- Pinch of salt
- Powdered sugar or vanilla ice cream for serving
Crockery and Time To Create
Equipment needed: 9×13 inch baking dish, spatula for spreading, and a standard oven.
Prep time: 5 minutes Cook time: 40 to 45 minutes Servings: 10 to 12
Ingredient Substitutions and Variations
- Yellow Cake Mix: Replaces chocolate cake mix for a lighter base with a different but equally delicious result.
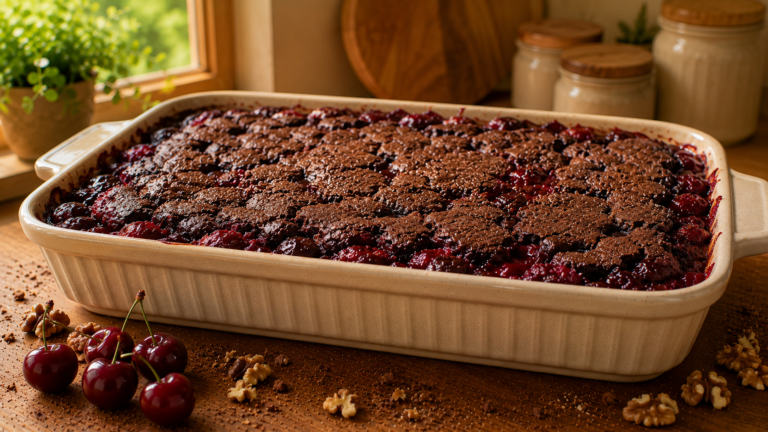
- Cherry Pie Filling: Swaps out chocolate pie filling for a Black Forest-style dump cake with bright fruity contrast.
- Coconut Oil: Replaces butter, sliced thin and placed the same way, for a dairy-free version with a subtle tropical note.
- Pecans: Replace walnuts for a slightly sweeter, buttery nut crunch that complements the chocolate beautifully.
- Dark Chocolate Chips: Replace semi-sweet chips for a more intense, less sweet chocolate punch in every bite.
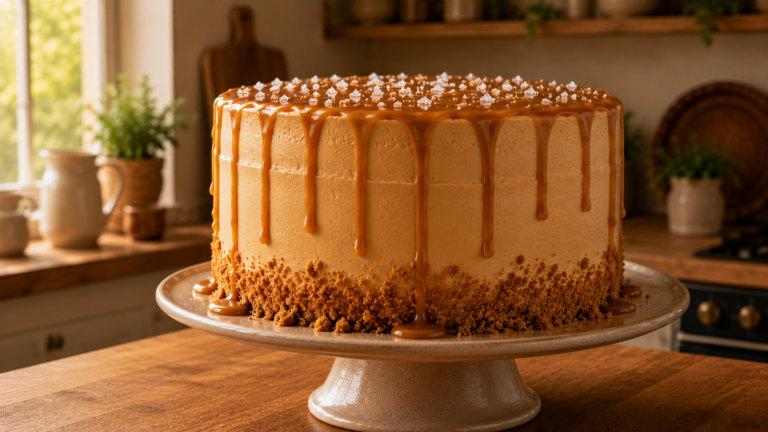
- Caramel Sauce Drizzle: Added in the final 10 minutes of baking as a variation for a chocolate-caramel version.
Step-by-Step Instructions
Step 1: Preheat and Prep the Pan Preheat your oven to 350°F (175°C). Lightly grease your 9×13 inch baking dish with butter or non-stick spray. This takes about 2 minutes and ensures the bottom layer does not stick.
Step 2: Spread the Chocolate Pie Filling Pour the entire can of chocolate pie filling directly into the greased dish and spread it evenly using a spatula. You want a flat, even layer that covers the entire base. This is the fudgy, gooey foundation the whole cake builds on.
Step 3: Add the Vanilla and Salt Drizzle the vanilla extract evenly over the pie filling and sprinkle a small pinch of salt across the surface. These two additions deepen the chocolate flavor significantly without changing the texture at all.
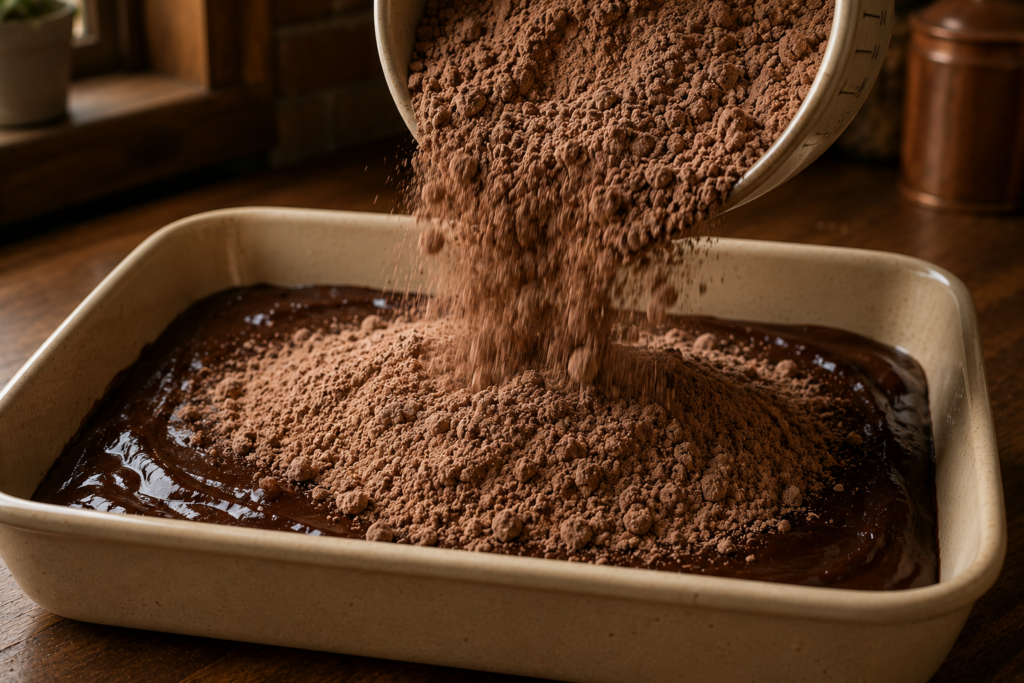
Step 4: Dump the Dry Cake Mix Open the cake mix box and pour the dry mix directly and evenly over the pie filling layer. Do not stir. Do not combine. Just spread it as evenly as possible so it covers the entire surface in a thin, uniform layer. This dry layer is what forms that magical slightly crisp top crust as it bakes.
Step 5: Scatter the Chocolate Chips and Walnuts Sprinkle the chocolate chips evenly across the dry cake mix surface, then scatter the chopped walnuts over the top. These will melt and toast during baking, adding texture and richness to the finished cake.
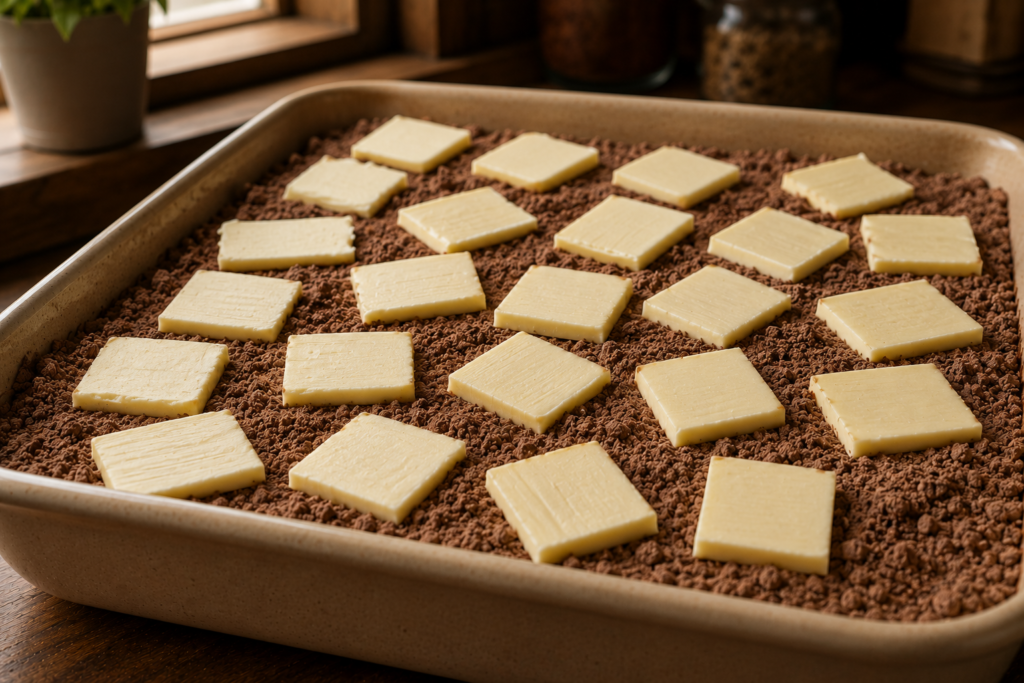
Step 6: Layer the Butter Slices Arrange the thin butter slices across the top of the cake mix layer in a single layer, covering as much surface area as possible. The butter melts down through the dry mix during baking and is what binds the top crust together. Gaps in the butter coverage can leave dry patches of cake mix on top, so try to get even coverage.
Step 7: Bake Until Set Bake uncovered at 350°F for 40 to 45 minutes. The top should look golden brown and mostly set, with the edges pulling slightly away from the pan. The center will look slightly underdone when you check it at 40 minutes, which is exactly right. It will firm up as it cools for 10 minutes before serving.
Pro Tips for Best Results
- Slice the butter as thin as possible so it melts evenly and covers the dry mix without leaving any powdery spots.
- Do not stir any of the layers together at any point, not even a little, the layered separation is what creates the distinct fudgy bottom and crust top.
- Let the cake rest for at least 10 minutes after baking before scooping so the layers can settle and the gooey center firms up slightly.
- Use a room-temperature pie filling rather than cold from the fridge so the bottom layer heats evenly from the start.
- For extra fudginess, add 2 tablespoons of instant coffee powder to the dry cake mix before dumping it in.
Common Mistakes to Avoid
- Mixing the layers together: The entire magic of this cake depends on keeping the dry mix, pie filling, and butter completely separate as they bake. Stirring collapses the structure and turns it into a dense, uneven mess.
- Skipping the butter coverage: Every inch of the dry cake mix surface needs butter over it. Pull out an extra tablespoon if needed to cover any bare spots, otherwise those areas bake into hard, chalky patches.
- Pulling it out too early: The center will look underset at 40 minutes. Give it the full 45 minutes and then let it rest. Taking it out too soon leaves a wet, uncooked middle.
- Using cold pie filling: Cold filling from the fridge creates uneven heat distribution and can result in the bottom not cooking through properly. Let it come to room temperature first.
What to Serve With
- Vanilla Ice Cream: The cold cream melts into the warm gooey cake and creates an instant sauce that takes this to another level entirely.
- Freshly Whipped Cream: A lighter option that lets the richness of the chocolate dump cake stay front and center without adding more sweetness.
- Hot Coffee or Espresso: The slight bitterness cuts through the sweetness of the cake and makes each bite feel more balanced and complex.
Storage and Reheating
- Fridge: Cover tightly with plastic wrap or transfer to an airtight container. Keeps well for up to 4 days in the refrigerator.
- Freezer: Portion into individual servings, wrap each in plastic wrap, and freeze for up to 2 months. Thaw overnight in the fridge before reheating.
- Reheating: Microwave individual portions for 30 to 45 seconds until warm. Add a scoop of ice cream right on top immediately after reheating.
Nutrition Information
| Nutrient | Per Serving |
|---|---|
| Calories | 310 kcal |
| Total Fat | 14g |
| Saturated Fat | 7g |
| Carbohydrates | 44g |
| Sugar | 28g |
| Protein | 4g |
| Fiber | 2g |
| Sodium | 390mg |
| Nutritional values are estimates based on standard ingredients and may vary depending on brands used. Values calculated per 1 of 12 servings. | |
Health Benefits
Dark chocolate and semi-sweet chocolate chips contain flavonoids that support heart health and have been linked to improved blood flow and reduced inflammation when consumed in moderation. Walnuts add a dose of omega-3 fatty acids and plant-based protein, making this dessert slightly more nutritionally rounded than a standard cake.
Portion-controlled servings of this chocolate dump cake can fit comfortably into a balanced diet. The real benefit is psychological: a genuinely satisfying dessert made at home is always a better choice than a processed store-bought alternative with unfamiliar additives.
Conclusion
This chocolate dump cake is the kind of recipe I always come back to when I want something deeply satisfying with almost zero effort. If you have never tried a dump cake before, this is where to start. Make it this weekend, serve it warm with ice cream, and watch how quickly the pan empties. Save this recipe, share it with someone who loves chocolate, and come back and tell me how it went.