Classic Nanaimo Bars Without Custard Powder Recipe Made Easy
Custard powder is a British pantry staple that most North American kitchens simply do not stock, and its absence has kept a lot of people from ever attempting the real thing. I spent years making Nanaimo bars with custard powder before I tested this version without it and realized the middle layer was actually silkier, cleaner in flavor, and easier to control.
The substitute is not a compromise. Vanilla pudding mix or a simple combination of cornstarch and vanilla achieves the same creamy, firm middle layer that holds a clean slice without any specialist ingredient. These are the real bars, just made accessible.
Why You Will Love This Recipe
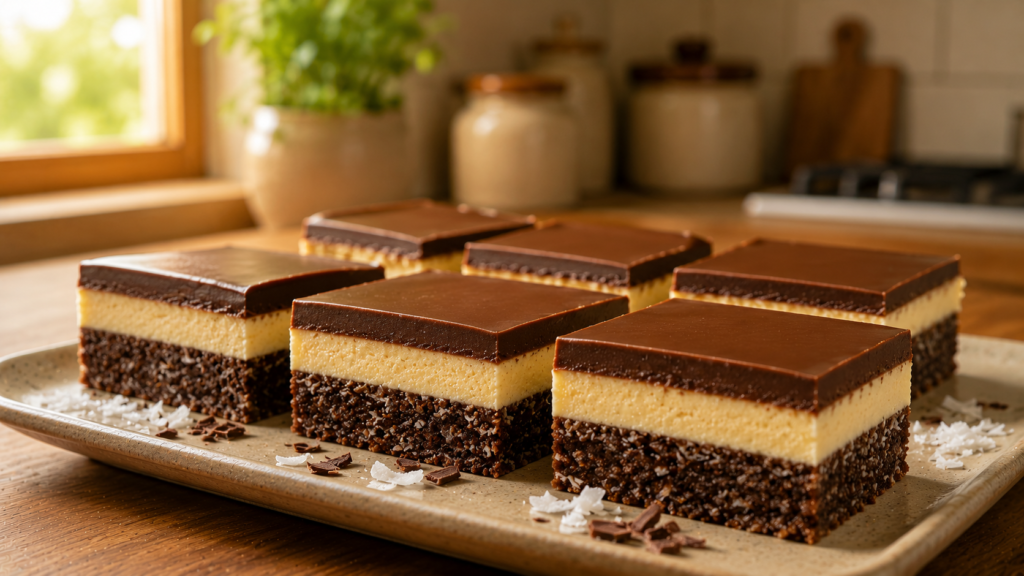
- This nanaimo bars without custard powder recipe delivers all three signature layers including the chocolate crumb base, vanilla cream middle, and dark chocolate top, without requiring any specialty ingredients.
- The middle layer sets firmly enough to slice clean while remaining soft and creamy on the tongue, a texture balance that many custard powder versions actually fail to achieve.
- No baking required for any layer, making this a genuinely no-oven dessert that comes together entirely on the stovetop and in the refrigerator.
- The bars hold their shape at room temperature long enough for serving, gifting, and plating without collapsing or sweating.
- This recipe scales easily, and the bars keep beautifully in the freezer for weeks, making them ideal for making ahead for holiday trays or events.
Ingredients
For the chocolate crumb base:
- 1/2 cup (115g) unsalted butter
- 1/3 cup (35g) unsweetened cocoa powder
- 1/4 cup (50g) granulated sugar
- 1 large egg, lightly beaten
- 1 and 3/4 cups (175g) graham cracker crumbs
- 1 cup (90g) shredded sweetened coconut
- 1/2 cup (60g) finely chopped walnuts or pecans (optional)
- 1 teaspoon pure vanilla extract
For the vanilla cream middle layer:
- 1/2 cup (115g) unsalted butter, softened to room temperature
- 3 cups (360g) powdered sugar, sifted
- 3 tablespoons whole milk or heavy cream
- 2 tablespoons instant vanilla pudding powder (replaces custard powder)
- 1 teaspoon pure vanilla extract
- Pinch of salt
For the chocolate top layer:
- 1 cup (170g) semi-sweet chocolate chips or chopped semi-sweet chocolate
- 2 tablespoons unsalted butter
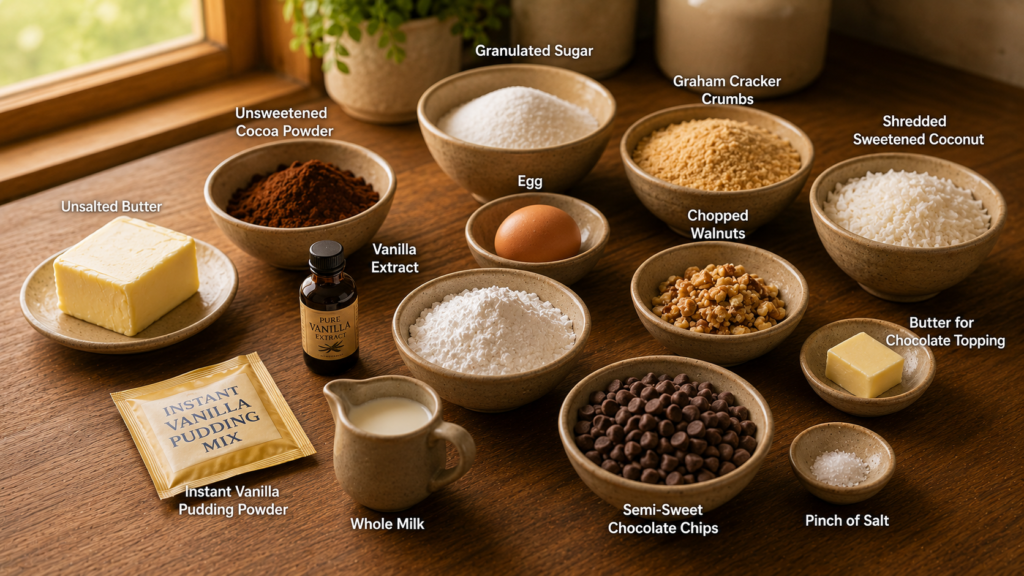
Crockery and Time To Create
Equipment needed: 8×8 inch or 9×9 inch square baking pan, parchment paper, medium saucepan, heatproof bowl, stand mixer or hand mixer, rubber spatula, offset spatula or the back of a spoon for spreading, sharp knife, wire rack.
Prep time: 30 minutes Chill time: 2 to 3 hours total across three stages Total time: approximately 3 to 3.5 hours including chilling Servings: 16 to 25 bars depending on cut size
Ingredient Substitutions and Variations
- Instant Vanilla Pudding Powder: This is the custard powder replacement. Use the dry powder straight from the packet without preparing the pudding. Two tablespoons gives the middle layer its characteristic slightly dense, custard-adjacent texture and flavor.
- Graham Cracker Crumbs: Digestive biscuit crumbs are the traditional Canadian equivalent and work identically. Oreo crumbs with the filling scraped out create a darker, more intense base that pairs beautifully with the vanilla layer.
- Shredded Coconut: Finely chopped toasted coconut works and adds a nuttier dimension. If you strongly dislike coconut, reduce to 1/4 cup or omit entirely, though it does affect the texture of the base slightly.
- Semi-Sweet Chocolate (top layer): Dark chocolate at 60 to 70% cacao makes the top layer more intensely bitter, which many people prefer against the sweetness of the vanilla cream. Milk chocolate makes the bars sweeter overall and more child-friendly.
- Walnuts: Toasted pecans or toasted almonds work equally well. The nut contributes texture to the base and can be left out for a nut-free version without major impact on the finished result.
- Whole Milk: Heavy cream in the middle layer produces a richer, slightly denser vanilla filling that holds an even cleaner slice when cold.
Step-by-Step Instructions
Step 1: Prepare the pan. Line your 8×8 or 9×9 inch pan with parchment paper, leaving overhang on two sides to lift the finished bars out cleanly. Set aside.
Step 2: Make the chocolate crumb base. In a medium saucepan over low heat, melt the butter with the cocoa powder and granulated sugar, stirring constantly until the sugar dissolves and the mixture is smooth and uniform, about 3 to 4 minutes. Remove the pan from the heat. Immediately whisk in the lightly beaten egg while stirring vigorously. The residual heat will cook the egg without scrambling it if you stir quickly and continuously for a full 30 seconds. The mixture will thicken noticeably.
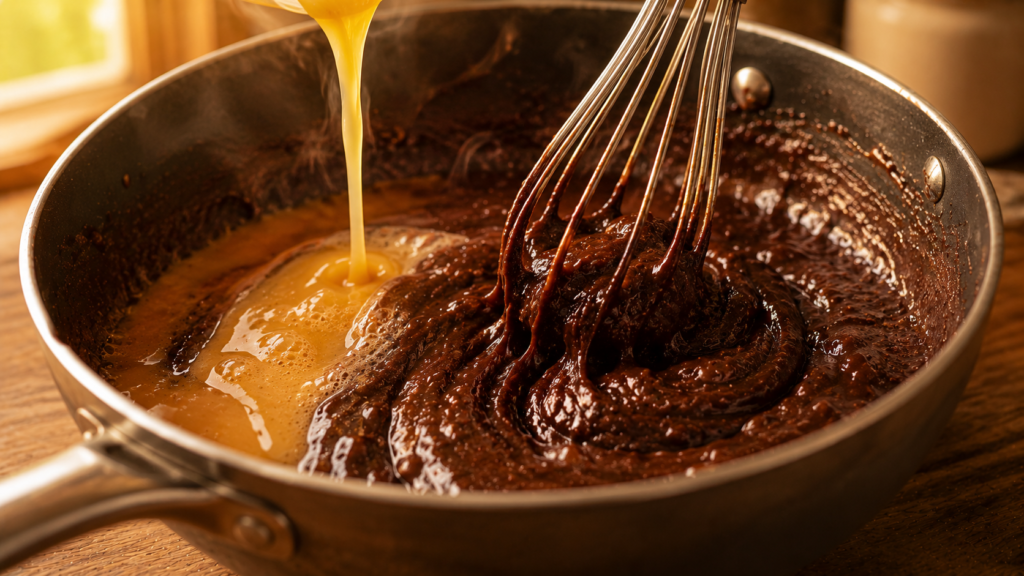
Step 3: Add the dry base ingredients. Stir in the graham cracker crumbs, shredded coconut, chopped nuts if using, and vanilla extract until everything is evenly coated and the mixture comes together into a dense, slightly sticky mass.
Step 4: Press and chill the base. Press the mixture firmly and evenly into the prepared pan using the back of a spoon or a flat-bottomed glass. The layer should be uniformly packed with no loose spots. Refrigerate for 20 to 30 minutes until fully set and firm to the touch before adding the middle layer.
Step 5: Make the vanilla cream middle layer. Beat the softened butter on medium speed until smooth and pale, about 1 minute. Add the sifted powdered sugar, instant vanilla pudding powder, milk, vanilla extract, and salt. Beat on low until combined, then increase to medium-high and beat for 2 minutes until the mixture is very light, fluffy, and completely smooth. If the mixture seems too stiff, add milk one teaspoon at a time.
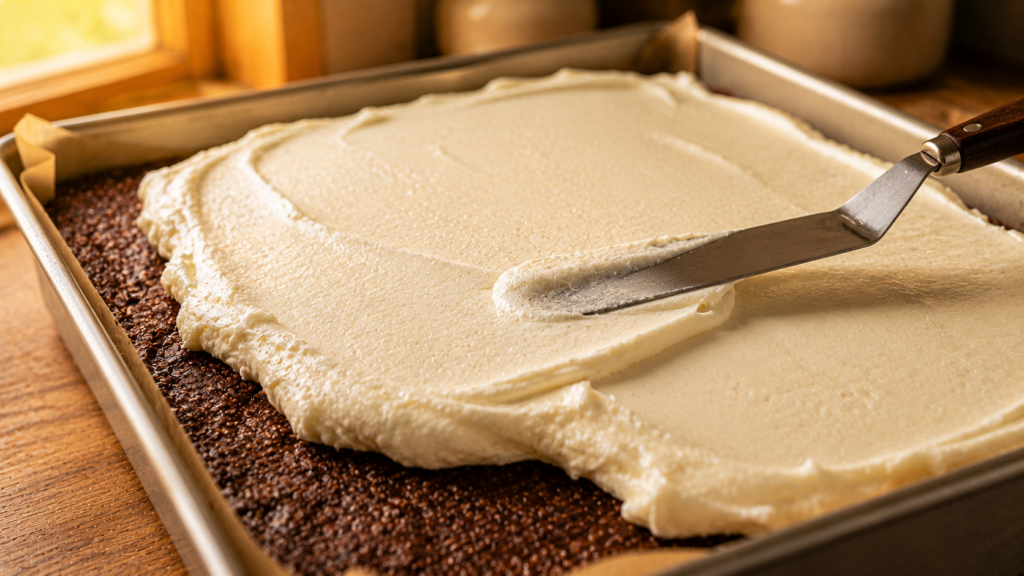
Step 6: Spread and chill the middle layer. Remove the chilled base from the refrigerator. Spread the vanilla cream layer evenly over the base using an offset spatula, working from the center outward to the edges. Smooth the surface as flat as possible, as any ridges will show through the chocolate top. Return the pan to the refrigerator and chill for at least 1 hour until the cream layer is completely firm.
Step 7: Make the chocolate top layer. Combine the chocolate chips and butter in a heatproof bowl set over a saucepan of barely simmering water, making sure the bottom of the bowl does not touch the water. Stir gently until both are fully melted and the mixture is glossy and smooth. Remove from heat and let it cool for 4 to 5 minutes. You want it pourable but not hot enough to melt the vanilla layer beneath.
Step 8: Pour, spread, and final chill. Remove the pan from the refrigerator. Pour the cooled chocolate over the vanilla layer and tilt the pan gently to spread it to the edges, or use an offset spatula for a more even coat. Return to the refrigerator and chill for a final 30 to 45 minutes until the chocolate top is fully set and matte rather than wet.
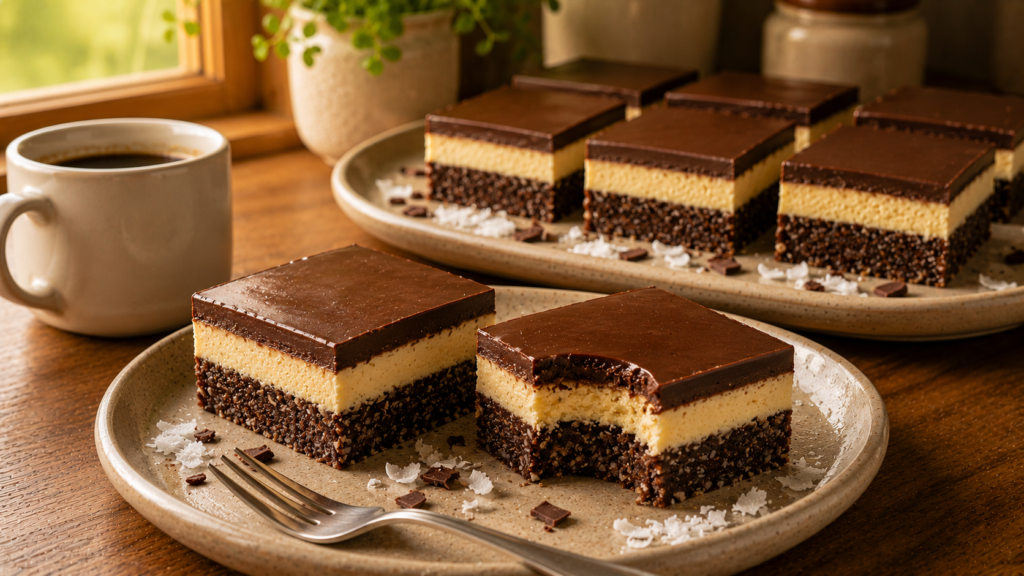
Step 9: Slice cleanly. Lift the entire slab out of the pan using the parchment handles. Use a sharp knife run briefly under hot water and wiped completely dry before every single cut. Slice into bars in one smooth downward motion without sawing, which cracks the chocolate top. Work quickly while the bars are still cold from the refrigerator.
Pro Tips for Best Results
- Stir the egg into the hot cocoa mixture continuously for a full 30 seconds without stopping. Any pause risks scrambled egg bits forming in the base layer.
- Cool the melted chocolate topping to around 90°F before pouring it over the cream layer. Too hot and it will melt the cream layer beneath and the layers will bleed together.
- Score the chocolate top lightly with the tip of a knife before fully chilling if you want perfectly straight lines with no cracking. The score lines guide the final cut without shattering the chocolate.
- Always slice directly from cold. Bars at room temperature have a softer chocolate top that smears rather than cuts clean.
- Use instant pudding powder dry from the packet. Do not prepare the pudding first. The dry powder goes directly into the butter and sugar mixture.
- An 8×8 pan gives you thicker, more impressive bars. A 9×9 pan gives you thinner bars closer to the traditional Nanaimo style. Both work, it is a personal preference.
Common Mistakes to Avoid
- Adding the egg too slowly to the hot cocoa mixture. If you pour the egg in all at once without stirring immediately and vigorously, it will scramble. Have the egg ready and stir the moment it hits the pan.
- Spreading the chocolate topping while it is still too warm. Warm chocolate melts the firm vanilla cream layer beneath and creates a blended, muddy middle layer with no clean definition. Always let the melted chocolate cool for several minutes before pouring.
- Skipping the powdered sugar sifting step. Unsifted powdered sugar leaves lumps in the vanilla cream that show as bumps through the chocolate top and affect the texture of every bite.
- Cutting without heating the knife. A cold dry knife drags and cracks the chocolate top with every cut. A knife run under hot water and wiped dry makes a smooth, clean pass through all three layers.
- Not pressing the base layer firmly enough. A loosely packed base crumbles when you try to lift and slice the finished bar. Press firmly and evenly until the surface feels dense and cohesive before chilling.
What to Serve With
- Hot black coffee: The bitterness of black coffee against the sweetness of all three layers is one of the most straightforward and satisfying pairings for these bars, balancing every bite.
- Cold whole milk: A classic match for any rich chocolate dessert and particularly effective here where the cool milk softens the intensity of the dark chocolate top layer.
- Vanilla bean ice cream: A small scoop served alongside a bar straight from the refrigerator creates a temperature and texture contrast that turns these into a proper plated dessert.
Storage and Reheating
- Refrigerator: Store in an airtight container in a single layer or with parchment between layers for up to 7 days. The bars are best eaten cold or at cool room temperature.
- Room temperature: These bars can sit out for up to 2 hours during serving without issue. Beyond that, the chocolate top begins to soften and the vanilla layer loses its firmness.
- Freezer: Freeze in a single layer until solid, then wrap individually in plastic wrap and store in a freezer bag for up to 3 months. Thaw overnight in the refrigerator for the cleanest texture on slicing.
- Reheating: These bars are not meant to be served warm. Serve cold or at cool room temperature only.
Nutrition Information
| Nutrient | Per Serving (1 bar) |
|---|---|
| Calories | 284 kcal |
| Total Fat | 16.2g |
| Saturated Fat | 9.8g |
| Carbohydrates | 33.6g |
| Sugar | 24.1g |
| Protein | 2.6g |
| Fiber | 1.8g |
| Sodium | 112mg |
| Nutrition values are estimates based on standard ingredients. Actual values may vary depending on brands and portion sizes used. | |
Health Benefits
Dark chocolate and unsweetened cocoa powder both contain flavanols, a class of antioxidant compounds associated with supporting cardiovascular health and reducing oxidative stress. The cocoa in both the base and the chocolate top layer contributes a measurable amount of these compounds to each bar.
Walnuts, when included in the base, bring a meaningful dose of omega-3 fatty acids alongside vitamin E and manganese. They are one of the few plant sources of ALA, the plant-form omega-3 that supports heart and brain health, making their inclusion here more than just textural.
Conclusion
The absence of custard powder is not a limitation in this recipe. It is actually what makes these bars more approachable for the vast majority of home kitchens that do not stock it, and the result holds up fully against the classic version in texture, flavor, and presentation. Make a batch this week, chill them properly, slice them cold, and share them with anyone who has ever told you Nanaimo bars are too complicated to bother with. Save this recipe and let me know how cleanly yours slice.
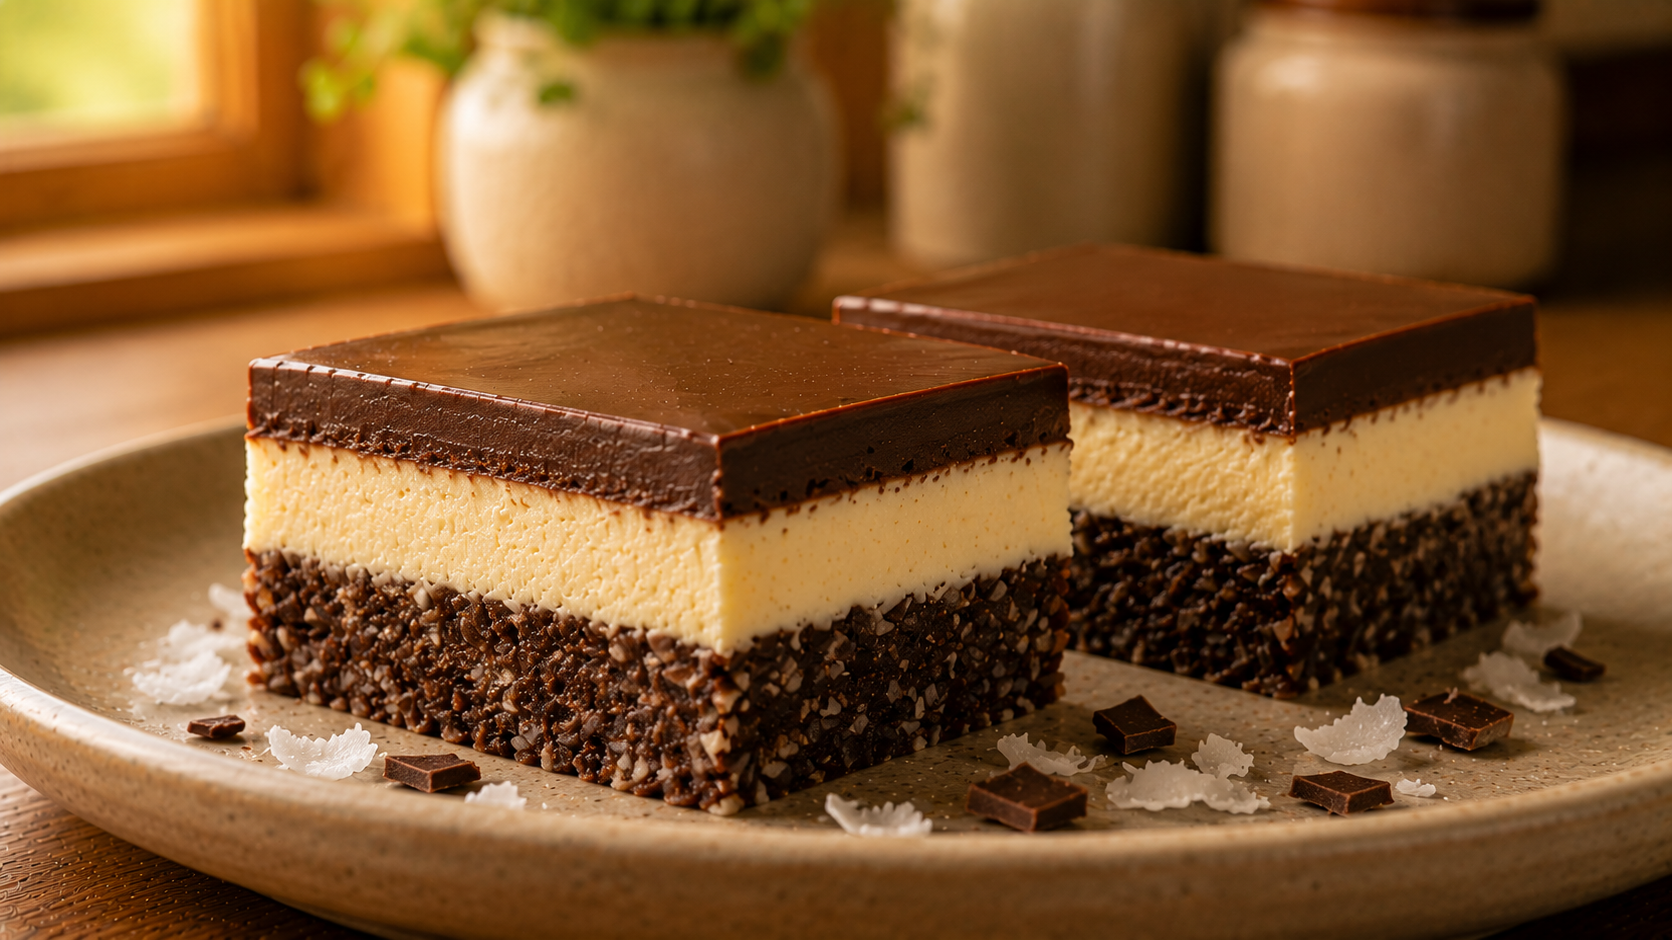
Classic Nanaimo Bars Without Custard Powder Recipe Made Easy
Ingredients
Equipment
Method
- Line an 8×8 or 9×9 inch pan with parchment paper.