Incredibly Soft Old Fashioned Tea Cakes Recipe for the Family
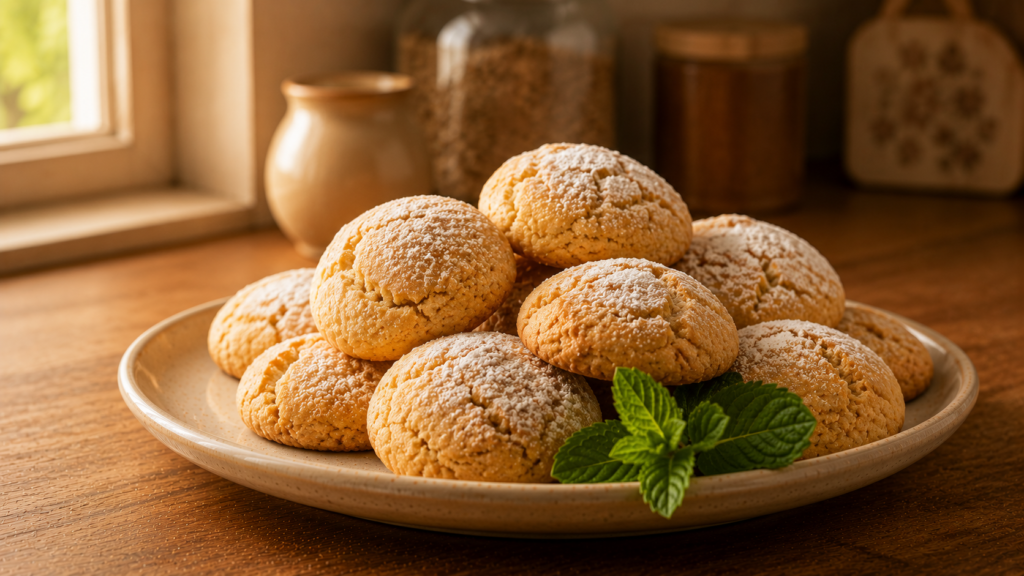
My grandmother kept a tin of these on the counter every single week. They never lasted more than a day. This old fashioned tea cakes recipe is the one I grew up reaching for, soft and lightly sweet, flavored with vanilla and nutmeg, and baked just until the edges barely color. They are not complicated. They are not fancy. They are just deeply good.
These soft rounds of buttery dough bridge the line between a cookie and a biscuit, and that is exactly what makes them so special to bake and share.
Why You Will Love This Recipe
• The flavor is warmly spiced with vanilla and nutmeg, nothing overpowering, just nostalgic and comforting.
• The texture is pillowy soft on the inside with a barely-there golden edge that gives the slightest crunch.
• You only need pantry staples to make them, no special equipment and no chilling time required.
• They stay soft for days when stored properly, making them ideal for batch baking and gifting.
• This recipe scales up effortlessly so you can double or triple the batch without changing a thing.
Ingredients
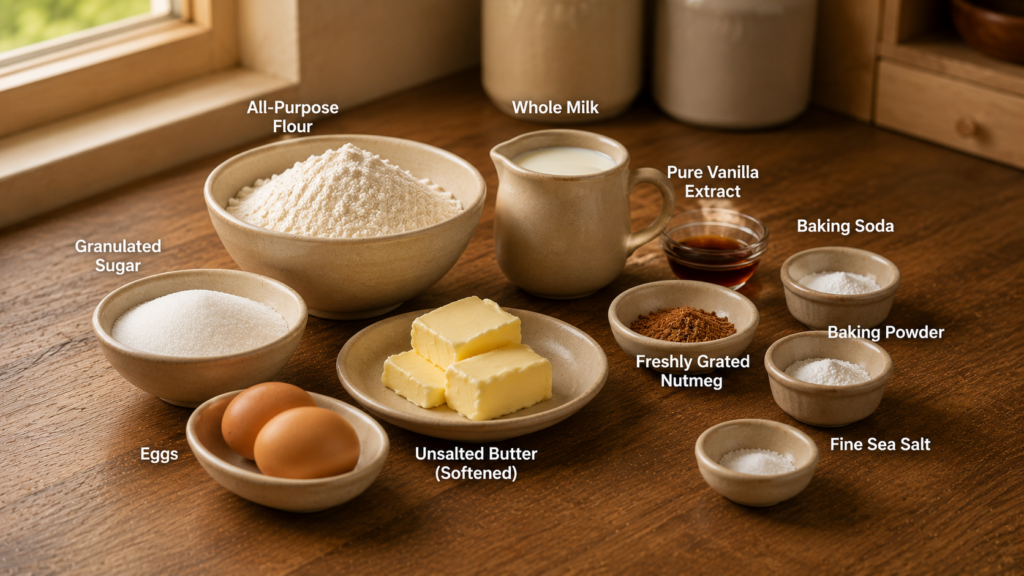
• 3 cups all-purpose flour, plus a little extra for rolling
• 1 cup granulated sugar
• 1/2 cup unsalted butter, softened to room temperature
• 2 large eggs
• 1/4 cup whole milk
• 1 teaspoon pure vanilla extract
• 1/2 teaspoon freshly grated nutmeg
• 1/2 teaspoon baking soda
• 1/2 teaspoon baking powder
• 1/4 teaspoon fine sea salt
Crockery and Time To Create
• Large mixing bowl and hand or stand mixer
• Rolling pin and flat surface dusted with flour
• Round cookie cutter or a glass rim (approximately 3 inches diameter)
• Two large baking sheets lined with parchment paper
• Wire cooling rack
• Total time: approximately 40 minutes (25 minutes prep, 12 to 15 minutes baking)
• Yield: approximately 24 tea cakes
Ingredient Substitutions and Variations
• Unsalted Butter: Replace with shortening or softened coconut oil for a slightly different crumb texture. The cookies will be slightly less rich but still soft.
• Whole Milk: Buttermilk works beautifully here and adds a subtle tang that pairs well with the vanilla. Use the same amount.
• Granulated Sugar: Light brown sugar can replace up to half the white sugar for a warmer, more molasses-forward note.
• Nutmeg: Swap for ground cinnamon, allspice, or a combination of both if you prefer a more spiced version.
• All-Purpose Flour: A 1:1 gluten-free baking flour blend works in this recipe for a gluten-free alternative.
• Vanilla Extract: Almond extract at half the quantity adds an elegant floral note that works wonderfully for special occasions.
Step-by-Step Instructions
Step 1: Preheat and Prepare
Preheat your oven to 350 degrees Fahrenheit (175 degrees Celsius). Line two large baking sheets with parchment paper and set them aside. I always get the pans ready before mixing the dough so I can move quickly once it comes together.
Step 2: Cream Butter and Sugar
In a large mixing bowl, beat the softened butter and sugar together on medium speed for about 3 minutes until the mixture turns pale and noticeably fluffy. This step is where the soft texture begins. Do not rush it. You want real aeration here, not just combined ingredients.
Step 3: Add Eggs, Milk, and Vanilla
Add the eggs one at a time, beating well after each addition. Pour in the milk and vanilla extract and mix until fully incorporated. The batter may look slightly curdled at this point, which is completely fine. It will come together once the dry ingredients are added.
Step 4: Mix in the Dry Ingredients
Whisk together the flour, baking soda, baking powder, nutmeg, and salt in a separate bowl. Add the dry mixture to the wet ingredients gradually, mixing on low speed just until the dough comes together. It should be soft and slightly sticky but still manageable enough to roll. Avoid overworking it.
Step 5: Roll and Cut
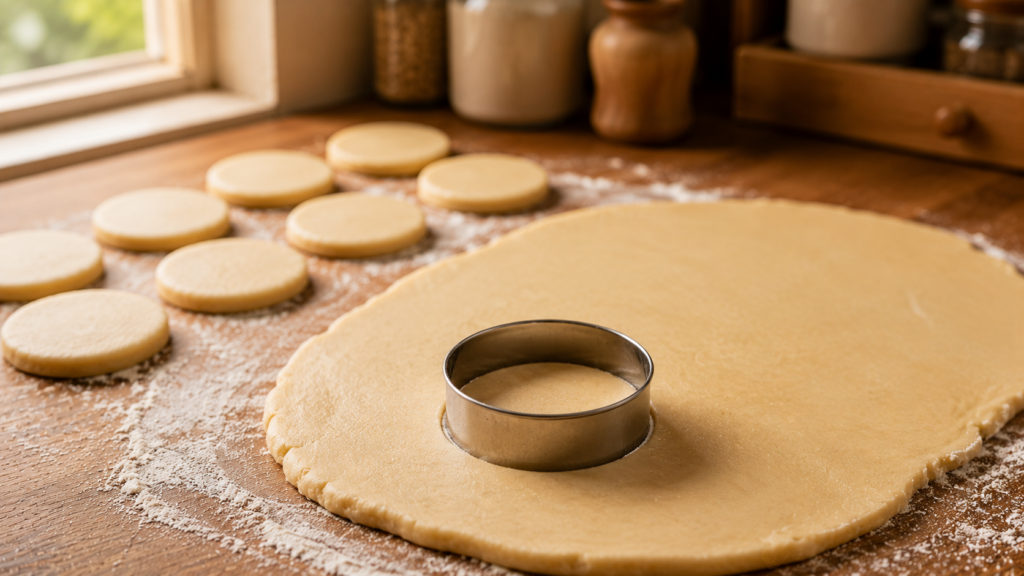
Lightly flour your work surface and turn the dough out onto it. Roll to about 1/4 inch thickness. The dough is forgiving, but keep your surface dusted so it does not stick and tear. Cut into rounds using a 3-inch cutter or a glass rim, pressing straight down without twisting. Gather scraps, re-roll, and cut again.
Step 6: Bake
Arrange the cut rounds on the prepared baking sheets, spacing them about an inch apart. Bake for 12 to 14 minutes. You are looking for edges that are just barely starting to turn golden while the centers still look slightly underdone. They will firm up as they cool. Pull them even a minute early if you want maximum softness.

Step 7: Cool and Serve
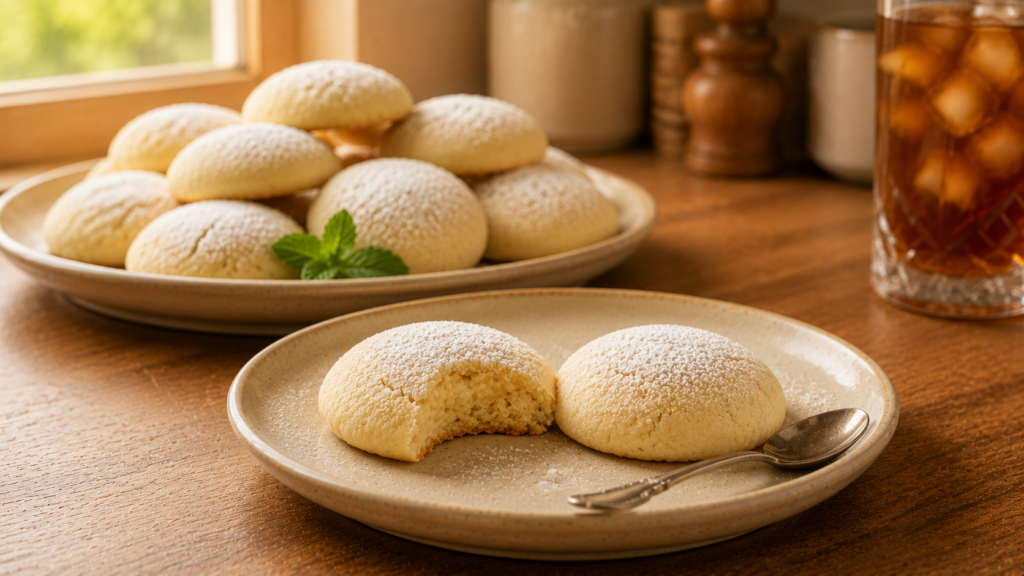
Transfer the tea cakes to a wire rack and allow them to cool for at least 10 minutes before eating. They are wonderful slightly warm, but they reach their best texture after they have cooled completely and the crumb has had time to set. Dust lightly with powdered sugar before serving if you like.
Pro Tips for Best Results
• Use room temperature butter and eggs for even mixing and a more uniform crumb throughout.
• Measure flour by spooning it into the cup and leveling off rather than scooping directly to avoid packing.
• Roll the dough to a consistent 1/4 inch for even baking across the entire sheet.
• Bake one sheet at a time on the center rack for the most even heat distribution.
• Let them cool fully on the rack before stacking or storing to keep the surfaces from getting tacky.
Common Mistakes to Avoid
• Overbaking: These tea cakes look underdone when they are actually done. Pull them when the center still looks soft and let carry-over heat finish the job.
• Over-flouring the surface: Too much flour on your rolling surface gets worked back into the dough and makes the cakes dense and dry. Use just enough to prevent sticking.
• Skimping on cream time: Rushing the butter-sugar creaming step leads to flat, dense cakes. Give it the full 3 minutes.
• Cutting with a twisting motion: Twisting seals the edge and prevents even rising. Press straight down and lift straight up.
• Stacking before cooling: Warm tea cakes stacked on each other flatten and lose their beautiful soft height. Cool completely on the rack first.
What to Serve With
• Sweet Iced Tea: The classic Southern pairing. The lightly sweetened, vanilla-kissed flavor of the tea cakes is a natural complement to a tall glass of cold sweet tea.
• Warm Chamomile Tea: If you prefer something hot, chamomile brings out the floral, nutmeg notes in the cakes without competing for flavor.
• Fresh Strawberries with Cream: The simplicity of the tea cake makes it a natural platform for seasonal berries and a spoonful of lightly whipped cream alongside.
Storage and Reheating
• Room Temperature: Store in an airtight container at room temperature for up to 5 days. Layer parchment between stacked cakes to prevent sticking.
• Refrigerator: Not recommended for storage as the fridge dries them out faster. Room temperature in a sealed container is ideal.
• Freezer: Freeze in a single layer on a baking sheet first, then transfer to a freezer bag. They keep well for up to 3 months.
• Reheating: Warm frozen tea cakes in a 300-degree oven for 8 to 10 minutes directly from frozen, or thaw at room temperature for an hour.
Nutrition Information
| Nutrient | Per Serving (1 tea cake) |
| Calories | 148 kcal |
| Total Fat | 5.8g |
| Saturated Fat | 3.4g |
| Cholesterol | 34mg |
| Sodium | 92mg |
| Total Carbohydrates | 22g |
| Sugars | 9g |
| Protein | 2.4g |
| Fiber | 0.4g |
| Nutritional values are estimates only and may vary based on specific ingredients used, portion sizes, and preparation methods. Always consult a registered dietitian for precise dietary advice. | |
Health Benefits
Tea cakes made from scratch give you full control over your ingredients, which means no preservatives, artificial flavors, or hydrogenated fats that sneak into commercial cookies. Eggs contribute protein and fat-soluble vitamins, while the small amount of butter used here keeps the saturated fat reasonably low per serving.
Nutmeg, the signature spice in this recipe, contains small amounts of manganese and copper and has long been used in traditional cooking for its digestive properties. When enjoyed in moderation as part of a balanced diet, these tea cakes are a far better option than their store-bought equivalents.
Conclusion
This old fashioned tea cakes recipe is the kind you make once and then find yourself making every few weeks without thinking twice. They are honest, uncomplicated, and genuinely satisfying in a way that fancier baked goods often are not. If you give these a try, I hope they find a permanent place in your kitchen the way they have in mine. Save the recipe, share it with someone who still talks about their grandmother’s baking, and if you have a moment, leave a comment and tell me how they turned out.